Photo restoration guide
How to Restore Old Photos: Practical Steps for Natural-Looking Results
A practical old photo restoration workflow: prepare the scan, identify the damage, repair in the right order, and keep the final image natural for sharing.
Start with the cleanest scan or original file
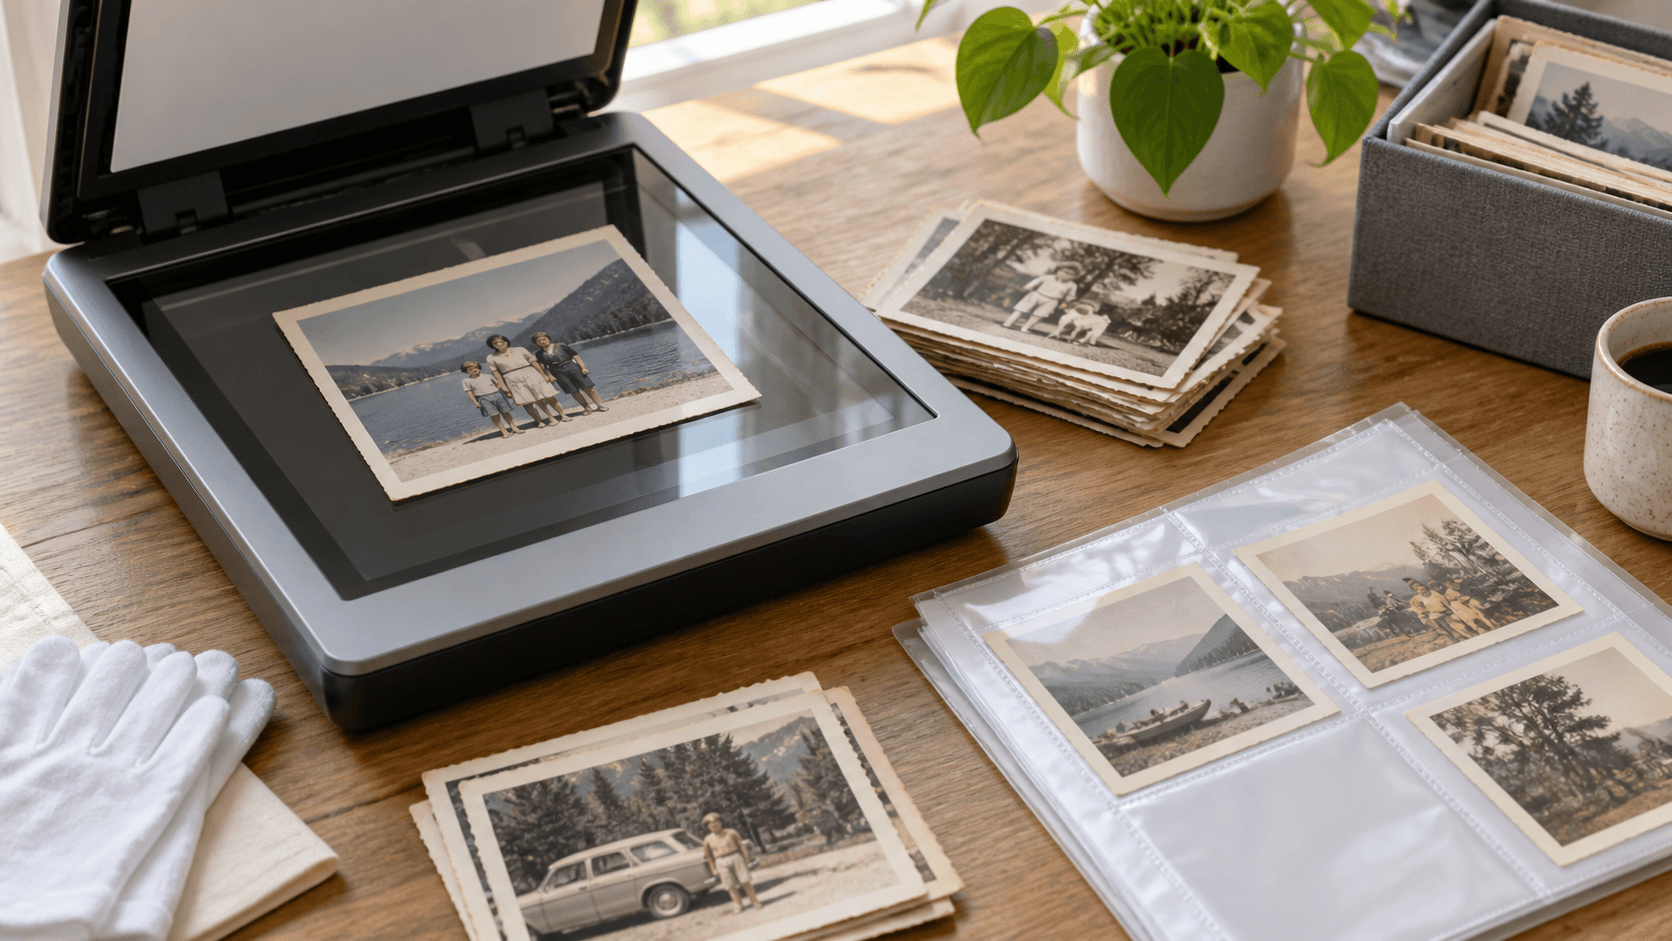
Old photo restoration works best when the source still contains useful detail. If you are starting with a printed photo, make a flat, well-lit scan or photograph it straight on before editing. Avoid a screenshot of an already-compressed image when the original scan is available; a larger, cleaner file gives repair tools more real texture to work with.
Keep the unedited scan as a master file. Make any restoration on a separate copy, so you can revisit the work or compare it with the original later.
Identify damage before you repair the photo
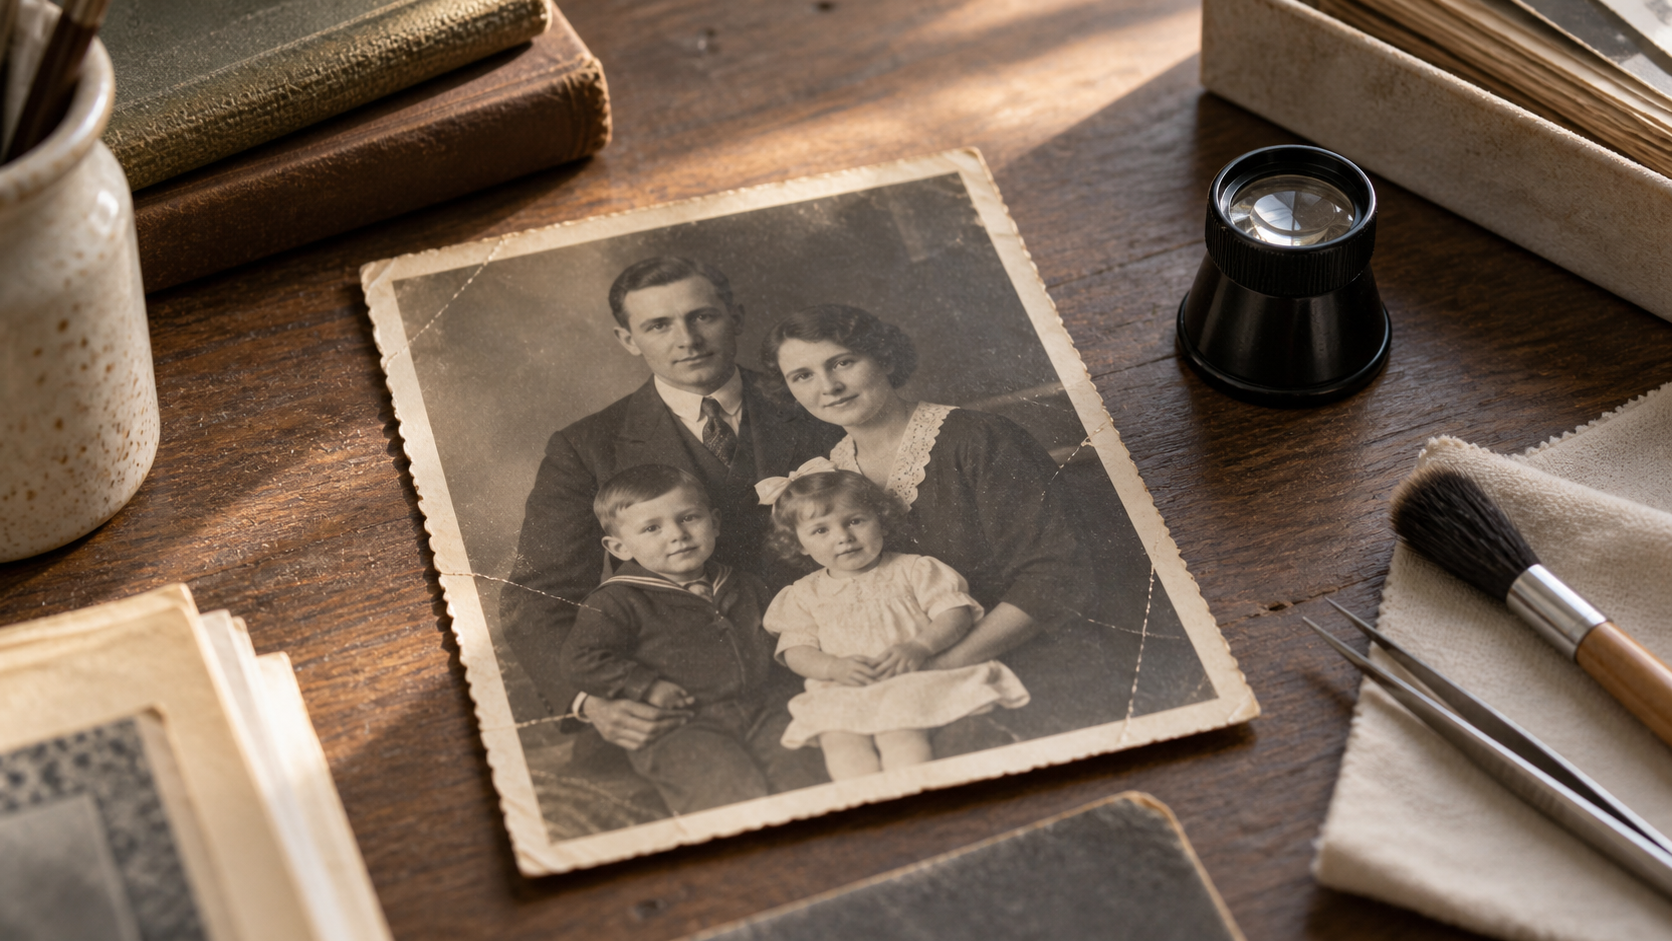
A faded photo, scratched photo, and blurry scan do not need the same treatment. Look for the issue that most distracts from the subject: surface scratches, fold lines, color cast, grain, blur, or missing facial detail. This short diagnosis prevents over-editing.
For example, sharpening a scan covered in dust can make the marks more noticeable. Color correction is usually easier to judge after the main physical damage has been reduced.
Use a careful restoration order
A gentle sequence usually produces a more believable result than trying to fix everything at once. Compare each change with the original at normal viewing size.
- Reduce scratches, fold marks, and scan lines first.
- Reduce noise only as far as needed; fine grain can be part of a print's character.
- Correct fading or an unwanted color cast.
- Use blur repair or upscaling last, then inspect faces, hair, and edges.
Keep faces and familiar details natural
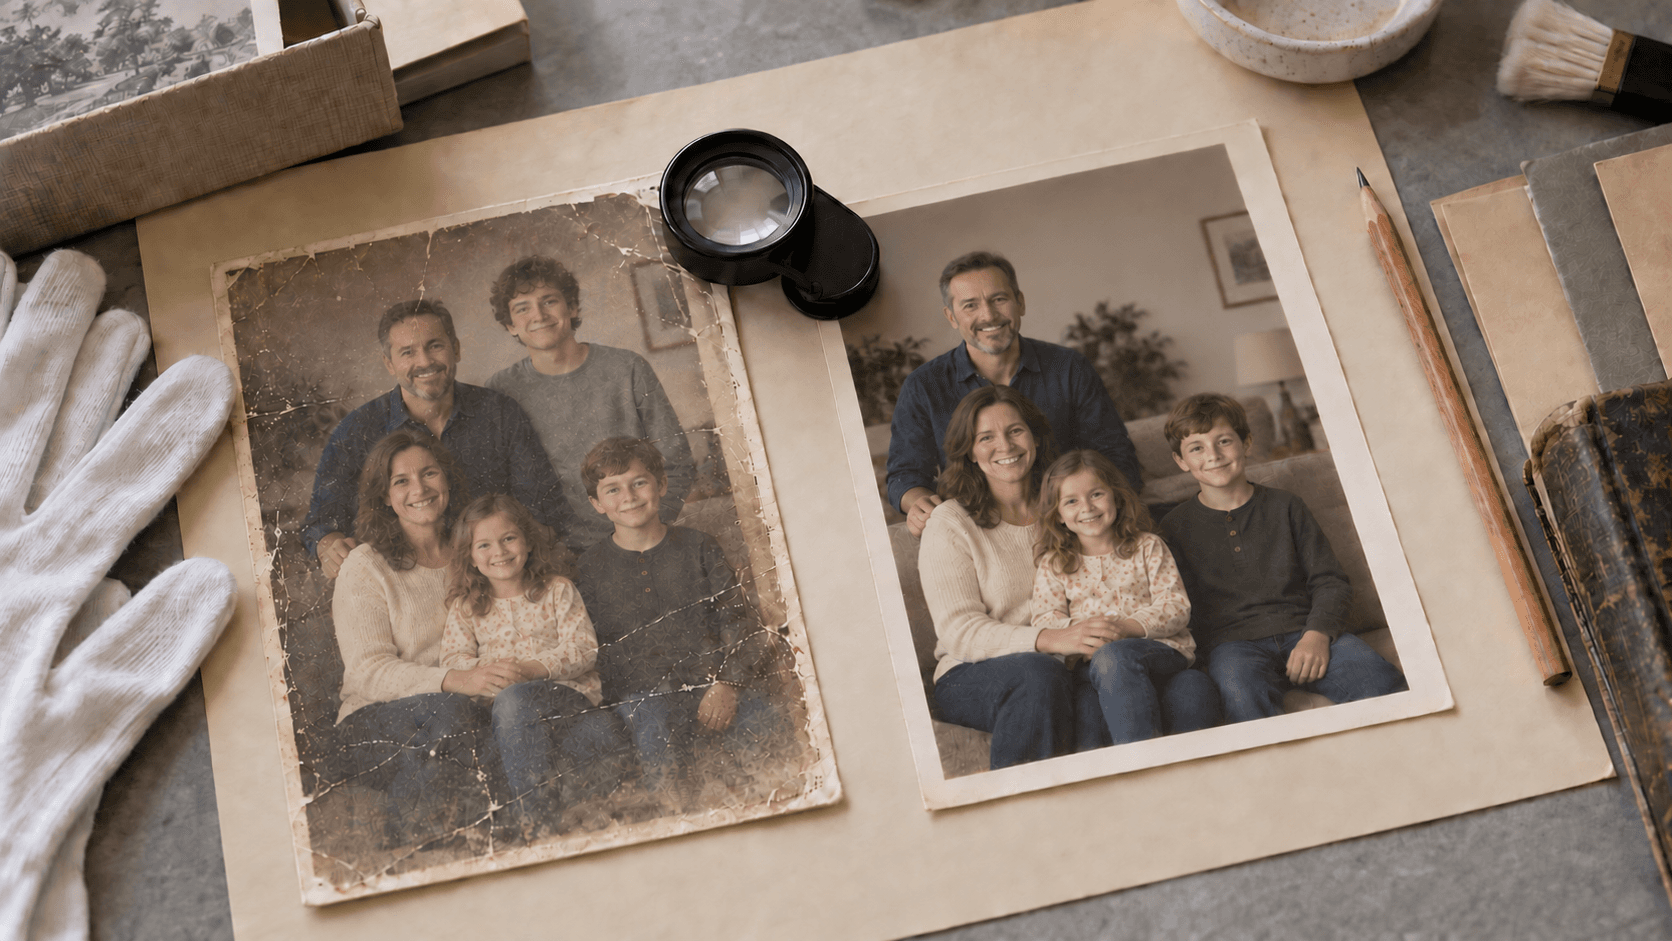
The purpose of restoration is not to make an old photograph look newly generated. Skin texture, fabric, film grain, and small imperfections can help a family picture remain recognizable and credible. Preview the repaired result beside the original.
If faces look overly smooth, edges develop bright halos, or a change alters a meaningful feature, reduce the strength or use a more targeted repair. Modest clarity is usually more convincing than maximum detail.
Save master and sharing copies
Preserve the untouched scan, the repaired copy, and a smaller sharing copy separately. The highest-quality version is useful for printing and archiving; a smaller copy is more convenient for messages and social posts. Clear filenames make the relationship between files easy to understand.
Frequently asked questions
Can old photos be restored if they are badly damaged?
Often, visible scratches, fading, noise, and mild blur can be reduced. Results depend on how much original detail remains; large missing areas may be softened or reconstructed less precisely.
Should I colorize an old black-and-white photo?
Colorization is optional. Restore damage and contrast first, then decide whether color supports the way you want to use or preserve the image.
What resolution should I use for an old photo scan?
Use the cleanest and largest scan you can access. More real detail generally gives you more flexibility, especially when the photo will be printed.
Conclusion
The most reliable way to restore old photos is to begin with a clean source, diagnose the damage, and make restrained improvements in a sensible order. Preserve the original file, compare before and after, and let the photograph keep the details that make it yours.
Restore an old photo