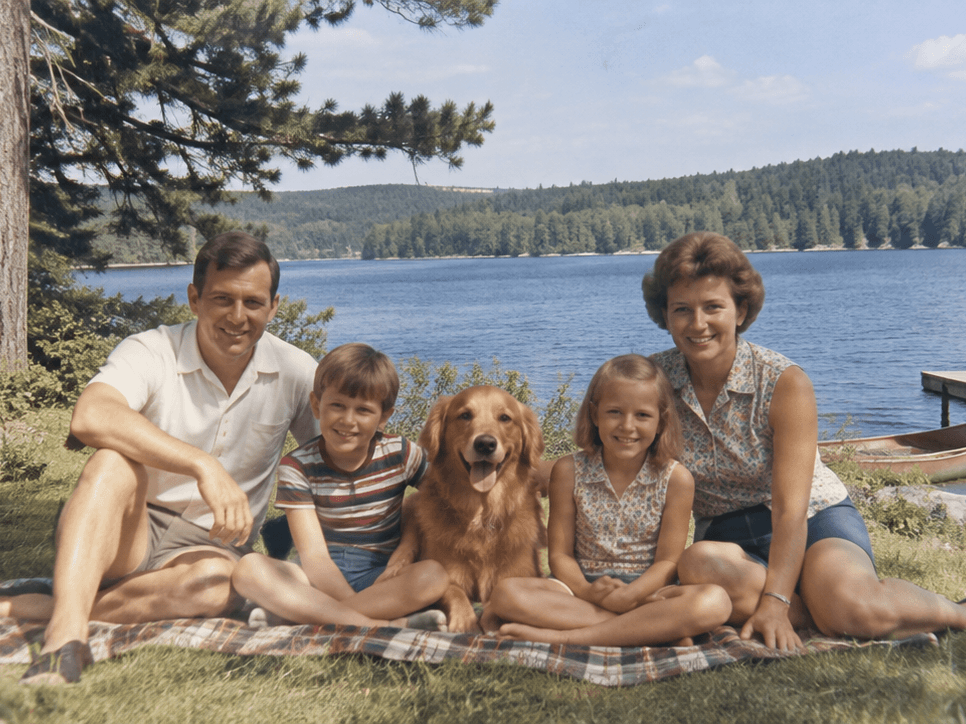
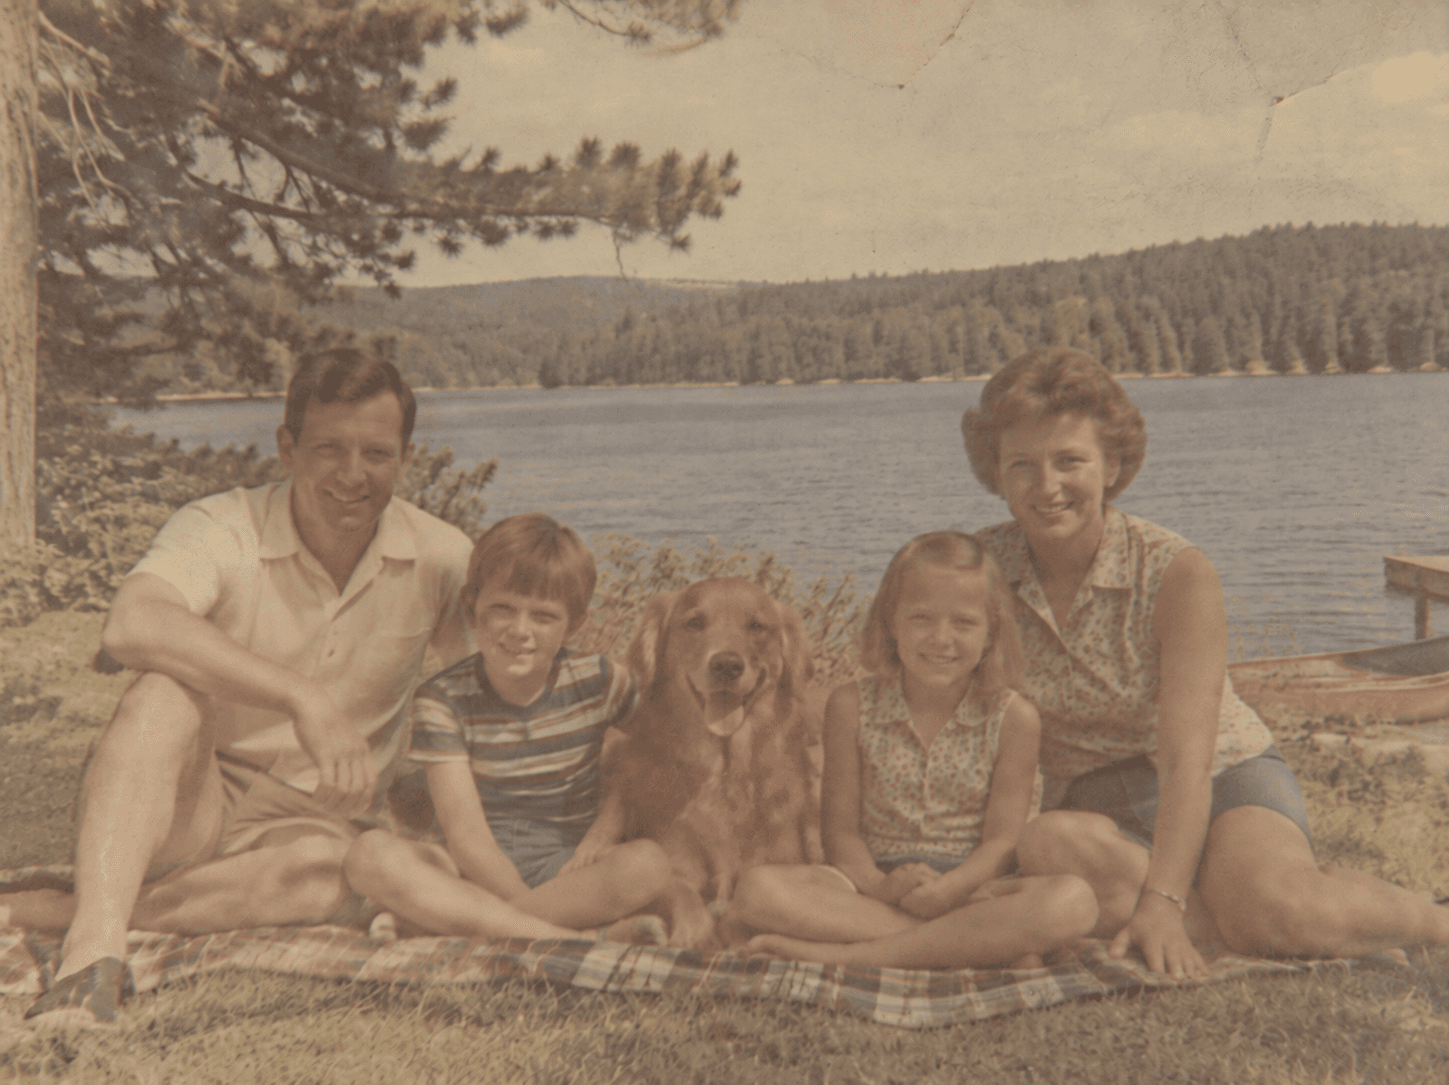
After
Before
↔
 PhotoRepair
Bring faded color back without making faces and backgrounds look too strong.
Washed-out colors regain depth and separation, giving clothing and background tones a more balanced look without pushing saturation too far.
Select multiple images or scan an old photo
Repair parameters
Control color recovery depth and saturation level independently for natural-looking output.
100% privacy protection. By uploading, you agree to Terms and Privacy Policy.
Use these examples to judge whether restored color depth looks natural for your image type.
Pay attention to skin, sky, and clothing tones after correction.
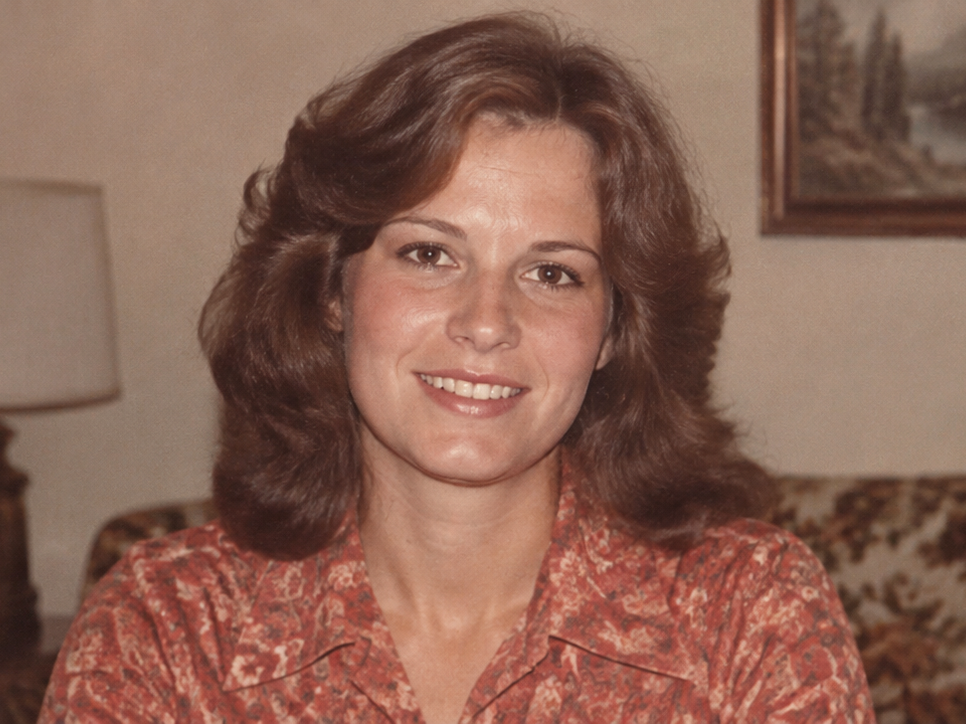
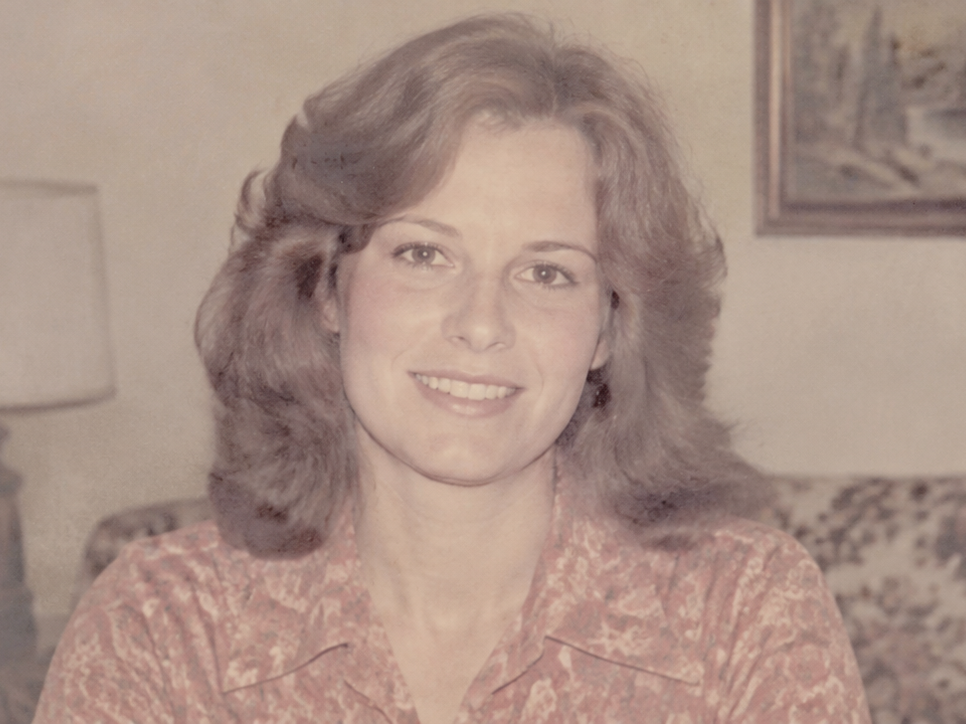
Clothing and background colors regain depth while staying naturally saturated, without a heavy filter look.
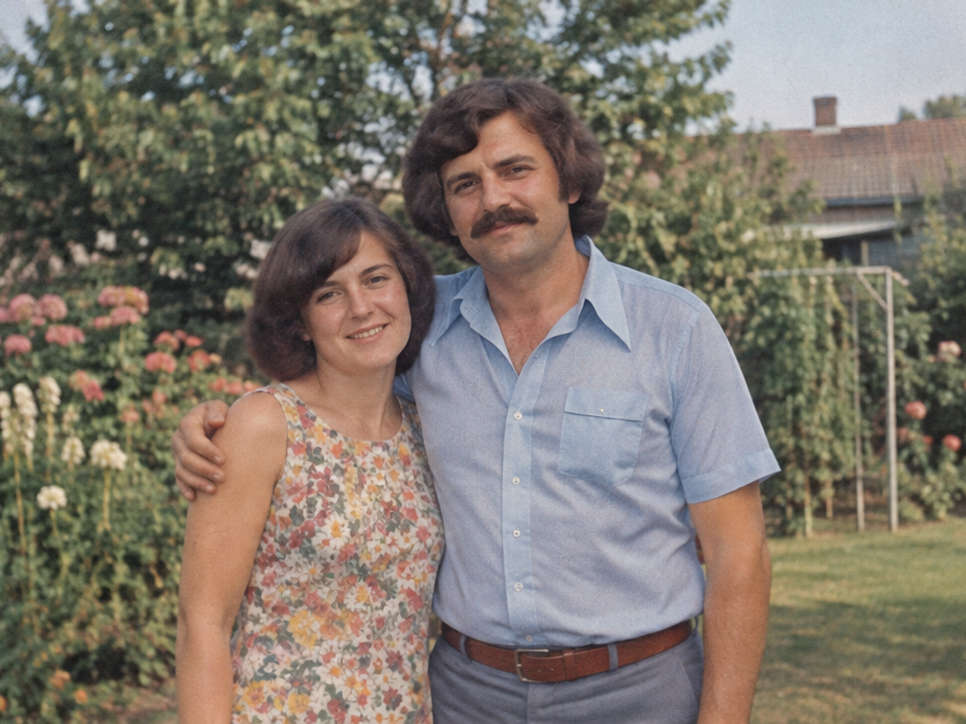
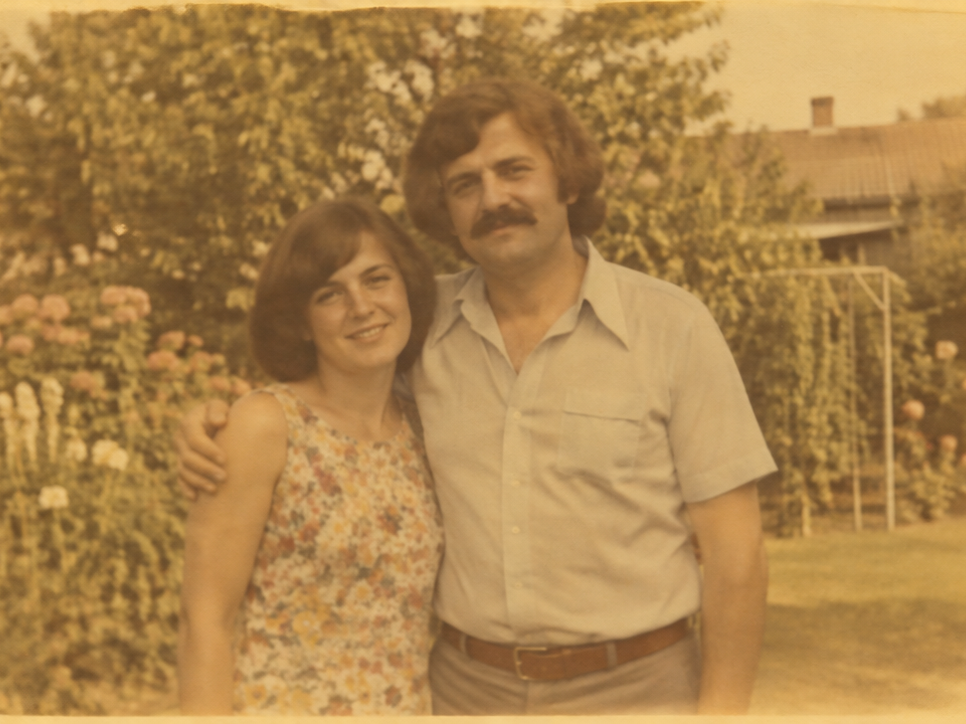
Skin and warm tones look clearer without making the whole image too red or vivid, keeping the palette balanced.
During photo fading, different color channels degrade at different rates. This analysis helps identify the most affected channel to guide targeted recovery.
Before
Red tones fade fastest due to UV exposure. Skin looks pale and lifeless.
After
Red channel recovery brings warmth back to skin tones and improves natural complexion.
Before
Green mid-tone attenuation reduces environmental depth perception and foliage color.
After
Green channel contrast restored. Background depth and foliage color return to a natural state.
Before
Blue channel degradation causes skies to gray out and cool shadows to lose definition.
After
Blue channel intensity restored. Sky tones and cool shadow separation return to natural levels.
Color fading repair cannot rely on a single filter pass. Use these checkpoints to evaluate channel states, then match the appropriate recovery strength.
Peak histogram check
Identify which channels collapsed first and quantify saturation loss per channel.
Neutral-region patch
Sample patches around key zones to see whether the cast is uniform or selective.
Skin-tone benchmark
Use face or human-touch zones as the reference to tune recovery strength.
Edge-color bleed check
Detect color bleeding around high-contrast edges that indicate channel misalignment.
Uniform recovery
Apply across all channels when fading is even.
Selective recovery
Target the weakest channel first, then balance.
Conservative recovery
Keep saturation under reference level for print safety.
Workflow
On the restore faded photo color page, review examples and the approach before deciding whether to upload a photo.
Channel R
Compensate faded density while protecting neutral transitions.
Channel G
Compensate faded density while protecting neutral transitions.
Channel B
Compensate faded density while protecting neutral transitions.
| Stage | Action | Visual |
|---|---|---|
01 Original photo | Upload the faded photoUse the cleanest copy available so the system can determine which color channels have degraded and which original tonal information is still recoverable. | Upload photo Drag image into uploader Drag here or click to upload |
02 Color repair | Bring the color backThe system applies conservative, channel-level color recovery — restoring depth to skin, clothing, and background tones without overshooting into artificial saturation. | |
03 Preview | Preview the recovered colorBefore downloading, inspect faces, clothing, and other familiar colors to confirm tonal depth has been restored without over-processing. | |
The examples below help you determine which photo problems this tool addresses and what results to expect.
Problem
Everyone in the photo looks washed out and the scene has lost separation.
Result
Clothes, skin, and background colors feel present again without looking overdone.
Repair an old print with weak reds
Problem: Warm tones have dropped away and faces no longer look healthy.
Result: The color balance feels more even and the picture looks less tired.
Lift a flat archive scan
Problem: The scan looks dull and the original scene has very little depth left.
Result: The image gets clearer color separation and reads more naturally again.
Pricing
Start free, then pick a credit pack when you need full downloads. Compare what you get across plans.
Try the workflow and see instant before/after preview.
Best for occasional repairs.
100 credits · Up to 10 repairs
Lower cost per repair for heavy usage.
400 credits · Up to 40 repairs
 Stripe
If you experience any payment difficulties, contact support@photorepair.app.
Answers about upload, results, and whether this tool fits your photo.
It works best on old prints and scans that look flat, gray, or weak in color. If some color is still left in the file, the result is usually much better.
It should not. The goal is to bring color back to a natural range, not to make the photo look like a filter.
Yes. Many faded photos also lose contrast. Bringing back some depth often matters just as much as restoring color.
Yes. Old photos often lose one color faster than the others. This tool tries to rebalance the whole image instead of boosting everything equally.
A saturation slider pushes every color harder at once. This tool is more careful, so the result feels restored instead of edited.
Need more details? Visit the help section from the footer.
Start now
Upload the original first, preview the result, then unlock the HD export after sign-in.
If this tool hasn't fully addressed the issue, explore more targeted tools for the next step in your repair workflow.
What to expect
Faded-color recovery · Balanced, believable tones · Online and quick to try