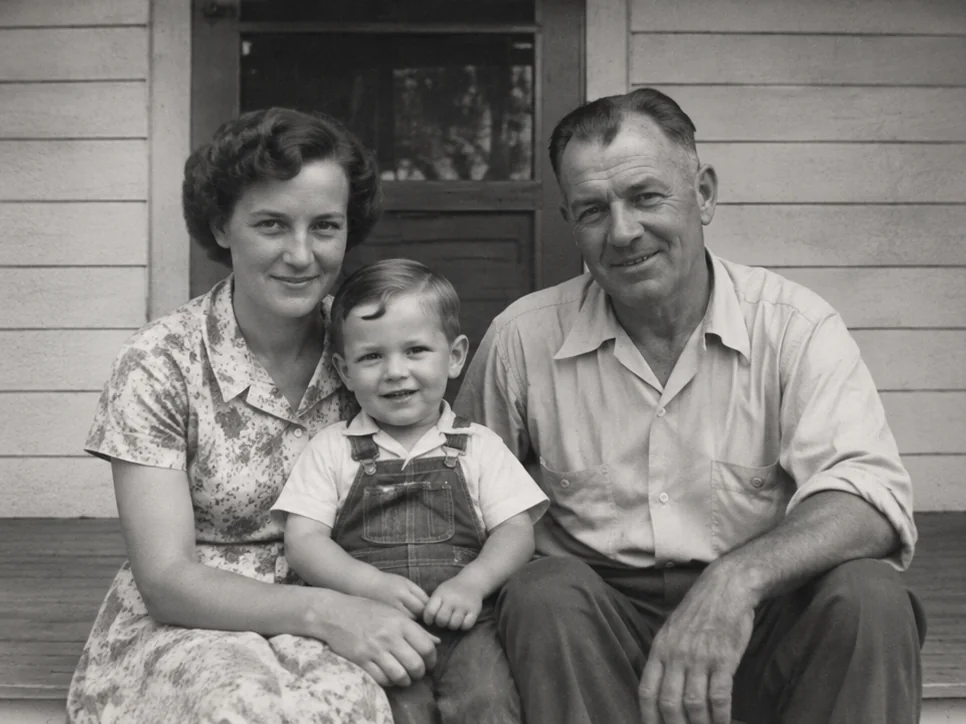
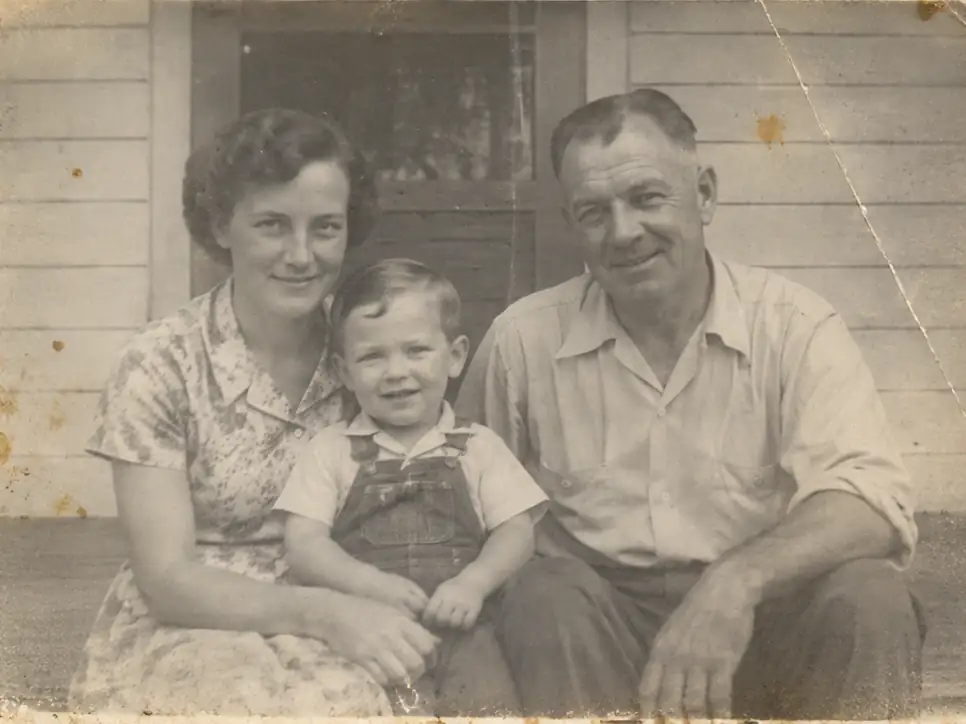
After
Before
↔
 PhotoRepair
Fix fading, yellowing, scratches, and softness in one place.
Select multiple images or scan an old photo
These examples show structural damage, stain cleanup, and tonal recovery for aging prints.
Priority cases include folds, stains, and washed-out tonal balance.
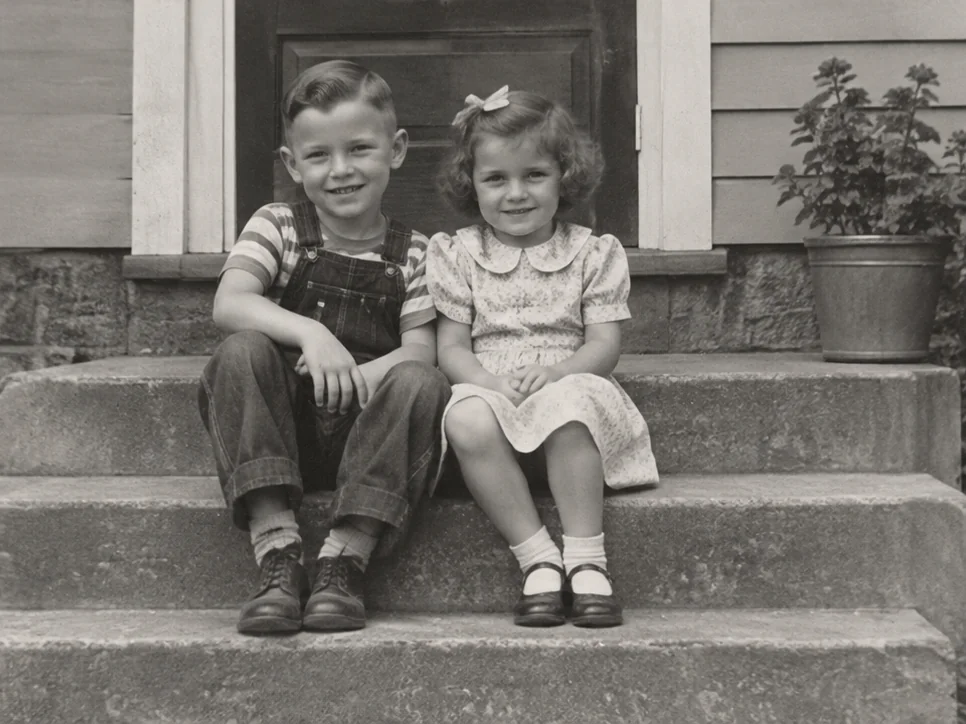
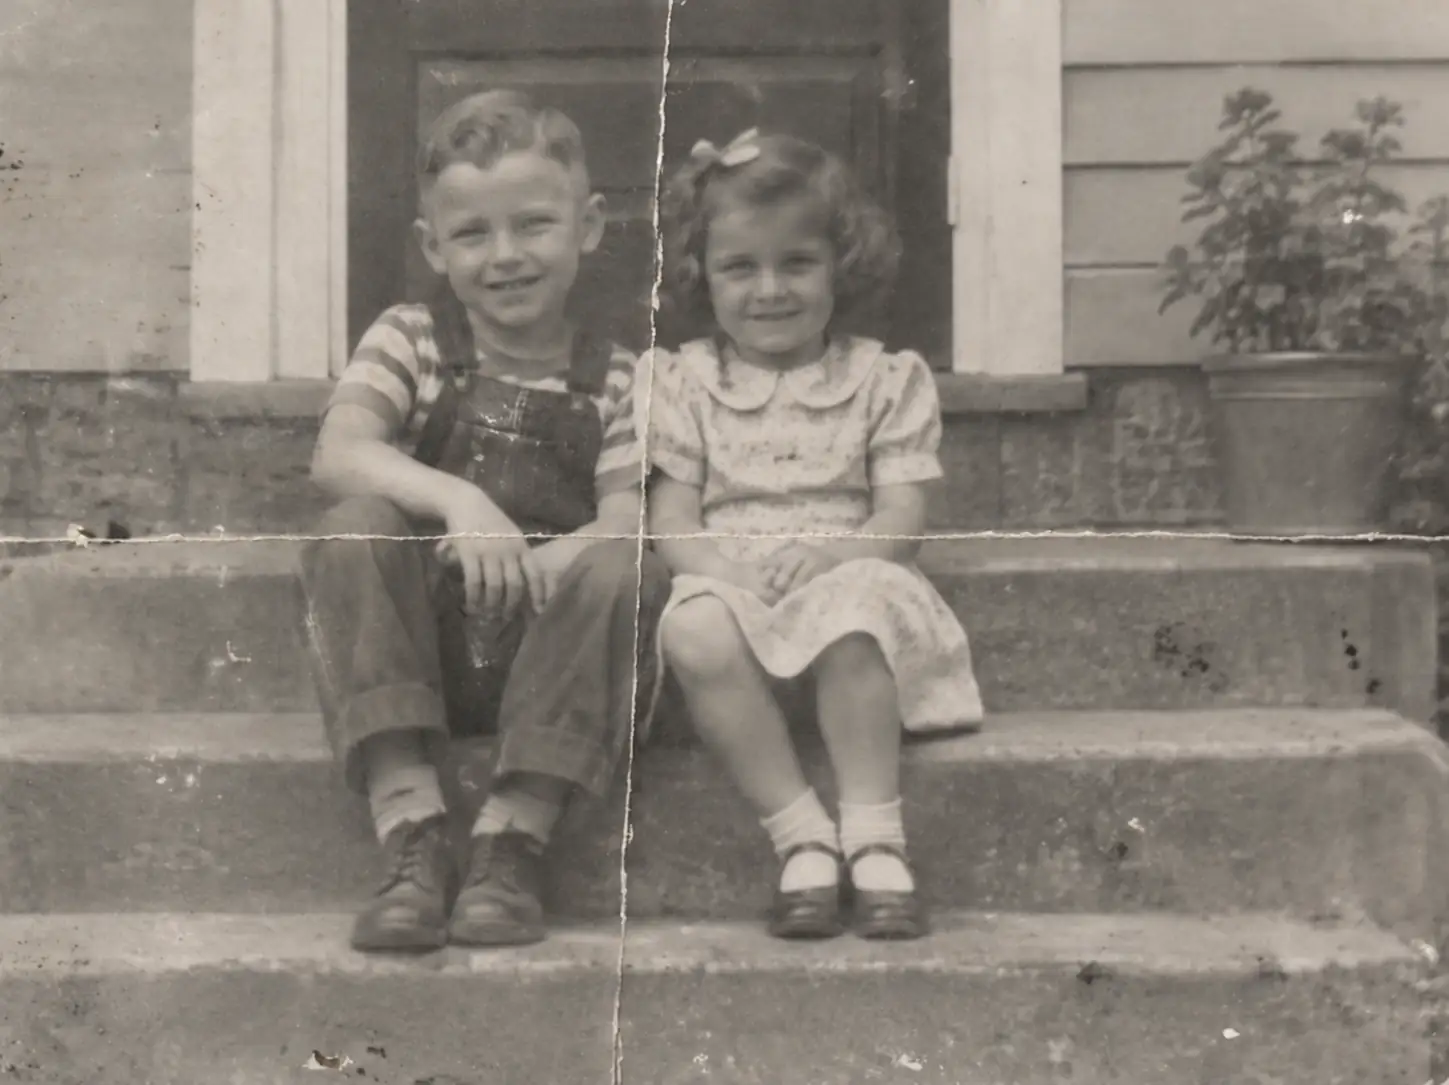
Removing dust and a fold from the scan makes the people and background easier to see while retaining natural print texture.
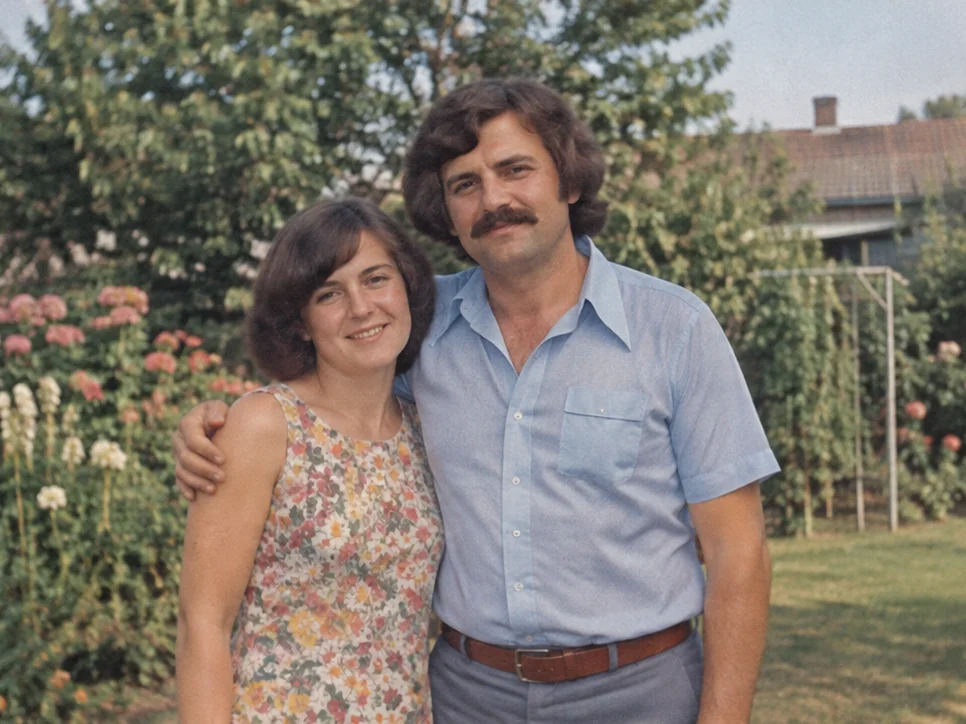
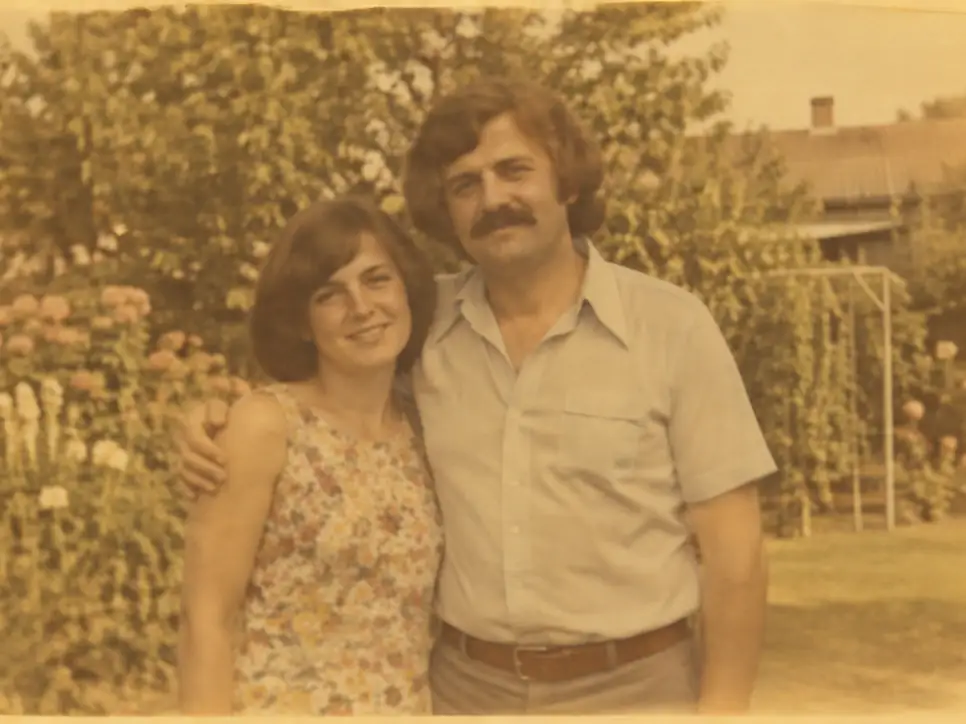
Correcting the yellow cast and recovering color depth brings skin and background tones closer to natural.
Each decade leaves its mark. Understanding the aging pattern helps target the right restoration steps for your photo.
Crisp details, accurate colors, clean surface — the photo as it was meant to be seen.
Paper acids begin to shift the white balance warm. Subtle but the first sign of aging.
Handling, stacking, and moving through albums introduces fine scratches and surface marks.
UV exposure and oxidation drain color channels. Reds fade first, contrast flattens.
AI combines scratch removal, denoise, color correction, and clarity enhancement in one pass.
One upload, multiple fixes applied. This preview shows how scratch removal, color correction, and clarity enhancement work together.
Before
Visible scratch lines across the surface
After
Scratches blended, texture preserved
Before
Washed-out colors, weak contrast
After
Color depth recovered, contrast restored
Before
Warm color cast from paper aging
After
White balance re-calibrated, tones neutral
Before
Detail attenuation from scanning or aging, reduced edge definition
After
Clarity enhanced, edges defined
Use this matrix to estimate restoration ceilings before uploading. Assess expected outcomes by damage type and prepare optimal source files for more stable results.
| Dimension | Mild | Medium | Severe | Input tip |
|---|---|---|---|---|
| Surface damage | Fine cleanup, texture mostly intact | Main marks reduced, local blending needed | Continuity recovery possible, full fidelity unlikely | Flatbed scan preferred |
| Color aging | Neutral tones recover quickly | Channel rebalance restores depth | Tone recovery works, saturation must stay conservative | Keep original scan profile |
| Clarity loss | Edges sharpen with minimal artifacts | Readable subject details return | Perceptual improvement only | Use highest available source |
Workflow
On the old photo restoration page, review examples and the approach before deciding whether to upload a photo.
Drag image into uploader
A flatbed scan typically yields the best results; a phone photo is also acceptable if the print is evenly lit and properly framed.
The repair addresses the combination of fading, yellowing, scratches, and clarity loss that old prints accumulate over time, rather than treating the photo as having a single issue.
Confirm the photo is cleaner and easier to preserve while retaining the period character that makes it feel like the original memory.
The examples below help you determine which photo problems this tool addresses and what results to expect.
Problem
The print has faded, picked up dust, and lost definition over time.
Result
Faces, clothes, and background details come back more clearly without losing the old-photo feel.
Clean up an aged wedding print
Problem: Yellowing and fold marks make the image feel worn out.
Result: The damage is reduced and the scene looks calmer and easier to preserve.
Improve an old album scan
Problem: The digital copy looks flat, soft, and noisier than the original print.
Result: The scan becomes cleaner and more useful for saving, sharing, or reprinting.
Pricing
Start free, then pick a credit pack when you need full downloads. Compare what you get across plans.
Try the workflow and see instant before/after preview.
Best for occasional repairs.
100 credits · Up to 10 repairs
Lower cost per repair for heavy usage.
400 credits · Up to 40 repairs
 Stripe
If you experience any payment difficulties, contact support@photorepair.app.
Answers about upload, results, and whether this tool fits your photo.
Yes. That is what it is for. If the photo has fading, yellowing, light scratches, softness, or surface dirt together, this tool is a good starting point.
That is the goal. A good repair should make the photo easier to see while still keeping the feel of the original print.
Usually yes. When the damage is mixed, starting here is simpler and often looks more balanced than stacking several fixes yourself.
It cannot fully rebuild parts that are torn away, missing, or unreadable. It can still improve the photo, but some lost detail may stay lost.
A flatbed scan is usually best. A clear phone photo can also work if you shoot straight on, avoid glare, and keep it sharp.
It works well for family prints, wedding photos, school portraits, album pages, and archive copies that look worn overall. If the only issue is blur or scratches, a dedicated tool may be better.
Need more details? Visit the help section from the footer.
Start now
Upload the original first, preview the result, then unlock the HD export after sign-in.
If this tool hasn't fully addressed the issue, explore more targeted tools for the next step in your repair workflow.
What to expect
Old photo repair · Natural result · Online
old photo
Bring faded color back without making faces and backgrounds look too strong.
problem repair
This tool repairs scratches on photographs — prints, negatives, and scans. Reduce fine lines and creases while keeping nearby paper grain and image detail visible.