Family photo preservation
How to Digitize Family Photos: An Archive-Ready Workflow
Turn boxes of family prints into an organized, durable digital archive. This practical workflow covers preparation, scanning, file naming, backups, metadata, and when to repair a copy.
Why family photo digitization is an archive project
Family photographs are often the only visual record of people, places, and ordinary moments that would otherwise be hard to describe. Prints can fade, stick together, bend, or become separated from the people who know their stories. Digitizing them creates useful access copies, but the larger goal is to preserve the connection between every image and its context for the next person who opens the folder.
A dependable family photo digitization project has two outputs: high-quality digital files and enough organization to find and understand them. A technically sharp scan without a date, names, or a backup can still become lost or meaningless. A clearly labeled collection, by contrast, lets relatives browse, share, and add knowledge without repeatedly handling fragile originals.
This is a practical home workflow, not a promise of museum equipment or perfect records. Protect the originals, work in manageable batches, save a master before changing anything, and distinguish confirmed facts from family recollections. Those habits make a collection more trustworthy as well as more useful.
Set a realistic scope before opening the first box
Begin by deciding what is most important. Loose prints, wedding albums, slides, negatives, school portraits, and digital camera folders need slightly different treatment. Start with material that is fragile, frequently requested by family, or most likely to be lost. A small completed collection is far more valuable than an ambitious project that never gets beyond sorting.
As you review material, make three groups: scan now, scan later, and ask someone. The last group matters. Set aside photographs with unidentified people, uncertain dates, or notes that need a relative's help to interpret. Do not pause the whole workflow to solve every mystery; record the question and continue. A short inventory note with the original container, approximate count, condition, and known names gives you a useful starting point.
Before handling prints, wash and dry your hands, clear a clean work surface, and remove food and drinks. Hold photographs by their edges where possible. Do not force apart photographs that are stuck together or try to flatten a severely curled, cracked, or mold-affected item. Irreplaceable or historically important photographs may need advice from a qualified photograph conservator.
- Choose one bounded batch, such as a single album, event, or decade.
- Give it a working ID, such as 1970s_Smith_Family_Album_01.
- Record its condition and the information already known.
- Flag delicate or unidentified items without delaying the batch.
Choose the right capture method and scan settings
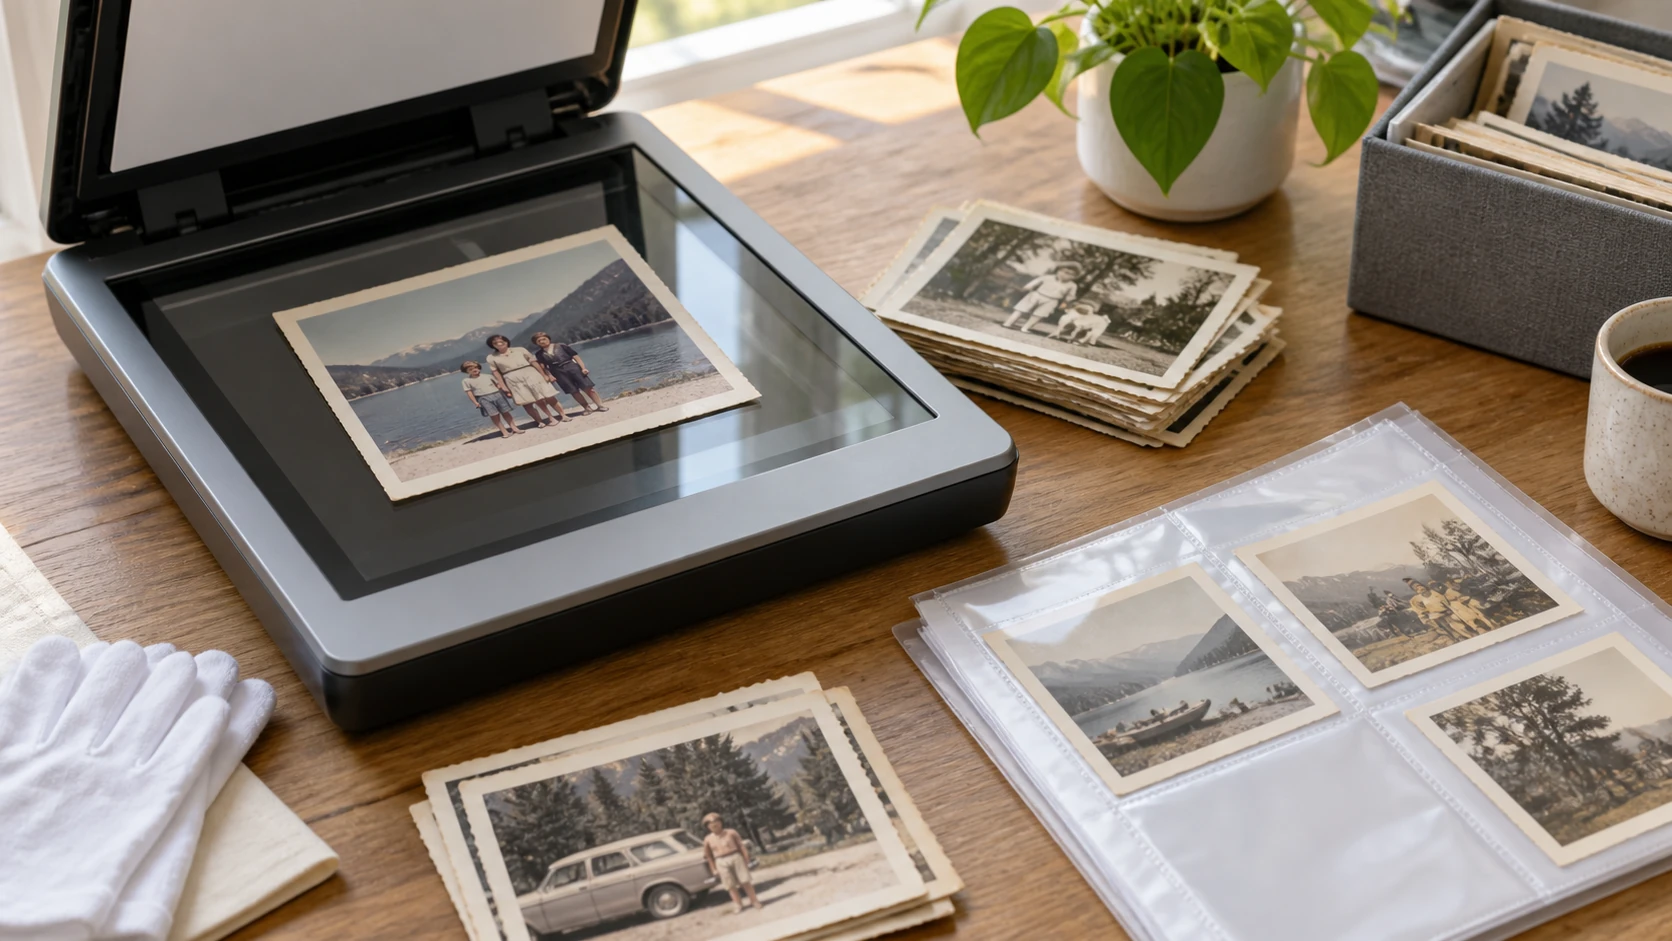
For most flat prints, a clean flatbed scanner gives consistent results and avoids glare. A phone or camera copy stand is useful for framed images, albums that cannot lie flat, or oversized photographs. When using a camera, use even indirect light, keep the lens parallel to the print, and take a test image that includes the complete border. Direct flash on glossy photographs can create reflections that hide real detail.
Use 600 ppi for small prints, snapshots, or pictures you may crop or print later. For standard prints intended as faithful viewing copies, 300 to 600 ppi is usually practical. Slides and negatives often benefit from a dedicated film workflow and a higher effective resolution. More pixels cannot recover detail that the original never contained, but a careful first capture creates room for future use without rescanning a fragile item.
Save the first capture in a durable, minimally altered format. TIFF is a useful master format when storage permits because it retains image data without JPEG-style compression. High-quality JPEG files are convenient for sharing and everyday viewing. If a scanner creates a proprietary file, export an open, widely supported copy too. Keep a color scan even if a print looks nearly monochrome: paper tone, borders, and fading can be useful evidence of the physical object.
Capture context as carefully as the image
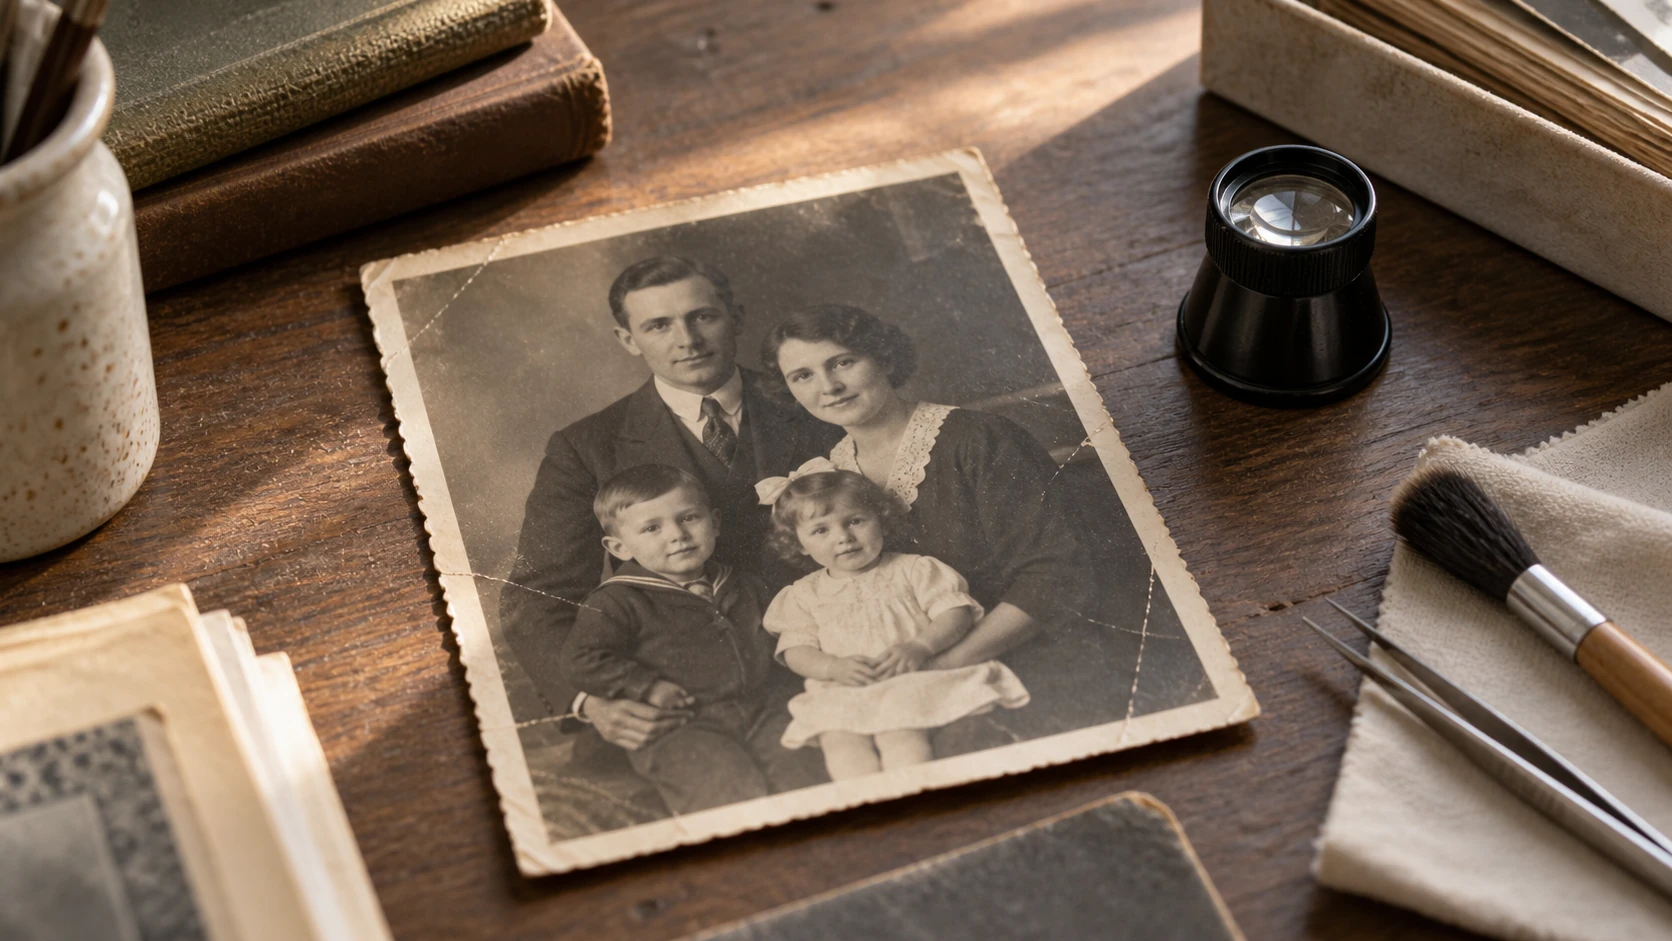
The back of a photograph can contain dates, names, studio stamps, inscriptions, or a relative's handwriting. Scan or photograph it whenever the information is meaningful. Also capture album captions, envelope labels, and notes that describe a group of photographs. That context can be more valuable to a future family member than a perfectly polished front scan.
Include the full border when it holds a studio mark, date, decorative edge, or evidence of the print format. A routine snapshot with blank borders can later have a cropped access copy, but the master should be conservative. Retain what is present, avoid aggressive automatic cropping, and never overwrite the master after an edit.
Document visible dust, creases, fading, and discoloration in the master capture rather than immediately hiding them. The physical object and unedited scan are the reference record. A cleaned or enhanced file is a derivative intended for use; label it clearly so no one mistakes it for the historical original.
Build filenames and folders another person can understand
Good naming prevents a digital archive from becoming another unsorted box. Organize folders using one straightforward logic: family branch, date range, event, or original container. Consistency matters more than the exact structure. Do not rely only on the computer's automatic date, because it frequently records when you scanned the print rather than when the image was taken.
A useful filename could be 1958-06-00_Lee-Family_Picnic_001_master.tif. If the exact day is unknown, use 00 rather than inventing one. Put circa-1958 in a note when the year is estimated. A related access copy might end in _share.jpg, while a repaired version can end in _repair-v1.jpg. The common identifier makes their relationship clear.
Keep a lightweight spreadsheet or text file for information that does not belong in a filename: source album, names from left to right, location, date confidence, contributor, and unresolved questions. Terms such as “identified by,” “estimated,” and “unknown” preserve provenance. They let later relatives understand what is known and what has been inferred.
Add metadata while the story is still available
Metadata is structured information about a file. At minimum, record a title, date or date range, people, location, and source. Many photo applications offer title, caption, keyword, and copyright fields; a companion spreadsheet also works. The best system is the one your household can maintain and export later.
Invite relatives to help identify people, but record their contributions carefully. Ask open questions such as “Who might this be?” or “What do you remember about this house?” rather than leading someone toward a guess. Note who supplied the information and when. Memory is valuable evidence, but it changes; clear notes respect both the story and the person who shared it.
Consider privacy before sharing. Photographs involving children, medical events, difficult family history, or private addresses may belong in a restricted folder. Asking permission before publishing an image is a practical sign of respect, even when the picture is old.
Make repair copies only after the archive master is safe
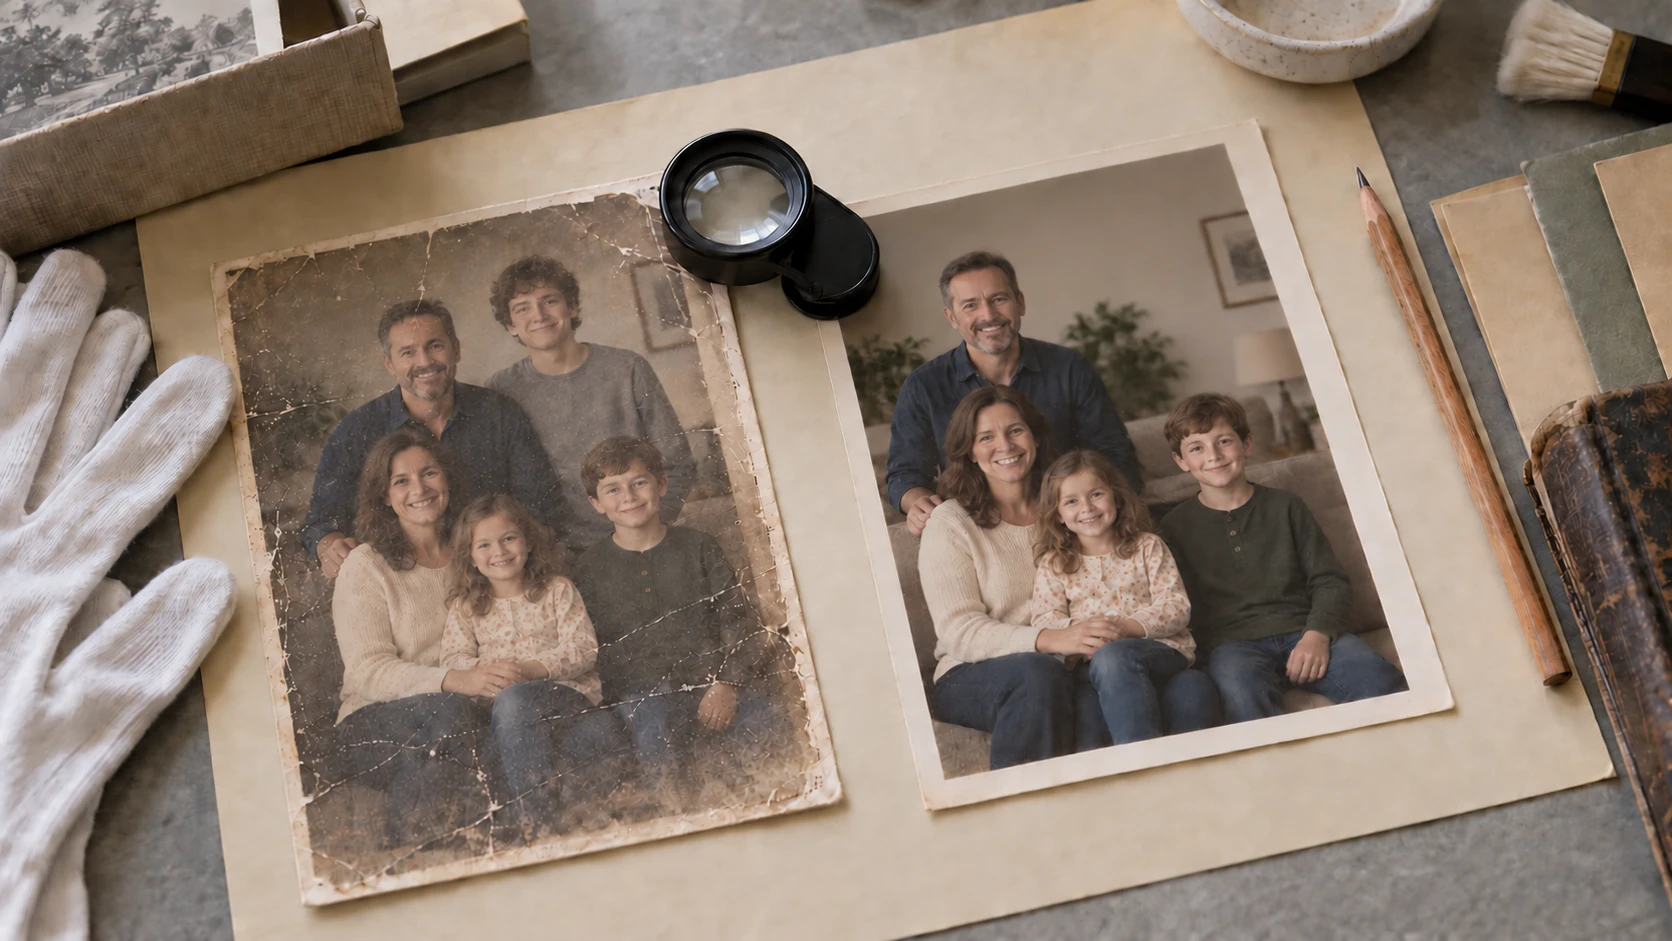
Careful repair can make a digitized picture easier to enjoy when scanning artifacts, minor scratches, color shifts, or mild softness distract from the subject. It is not a substitute for preservation. Save and back up the untouched master first, then duplicate it before making a visual change. This gives your family both an accurate record of the print and a cleaner copy for viewing, sharing, or printing.
Use restrained adjustments and compare the repair with the master at normal viewing size and close range. Stop if faces become overly smooth, letters change shape, edges gain bright halos, or details feel invented rather than clarified. For large missing areas, ambiguous faces, or images with documentary importance, describe the change in your notes instead of presenting a reconstruction as certainty.
Photo repair tools can help create an access copy, but they cannot recover historical evidence that no longer exists in a scan. The best results come from a clean capture with real surviving information. If an improvement changes a meaningful feature, retain the original and label the altered file plainly.
Back up the archive and verify it can be restored
One copy is not preservation. Maintain at least three copies: the working archive, a local backup on a separate drive, and an off-site or cloud copy. Keep copies in different physical locations where possible. This familiar 3-2-1 approach reduces the risk that a lost laptop, failed drive, or local incident removes every version at once.
Backups are useful only when they work. Every few months, open a sample of master files from each backup, confirm that folders and filenames remain intact, and make sure a trusted family member knows where the archive lives. Put a short readme at the top level describing the folder structure, naming convention, relevant software, and the location of physical originals.
Continue to protect the prints. Store them in a cool, dry, stable environment away from direct sunlight, damp basements, and very hot attics. Digitization reduces handling; it does not make originals disposable. Future scanning methods or family discoveries may reveal value that is impossible to predict today.
Frequently asked questions
What resolution is best for digitizing family photos?
For most prints, 300 to 600 ppi is practical. Use 600 ppi for small prints, images you may crop, or pictures likely to be printed again. A clean, stable capture matters more than an unnecessarily large setting.
Should I scan family photos as TIFF or JPEG?
Use TIFF or another durable, minimally altered format for master scans when practical, then create high-quality JPEG copies for sharing. Keep the master separate and never save edits over it.
How should I name photos when I do not know the date?
Use the best known year or range without pretending to know more. For example, use circa-1965 in a note, or 1965-00-00 in a consistent filename system, and record why the date is estimated.
Is it okay to repair a digitized family photo?
Yes, provided you work on a duplicate and retain the untouched master. Label repaired copies clearly, make modest changes, and do not treat reconstructed detail as verified historical fact.
Should I keep printed photos after digitizing them?
Usually, yes. Originals can carry inscriptions, physical details, and future research value that digital files do not fully capture. Store them safely and use digital copies for frequent access.
Conclusion
To digitize family photos well, think beyond the scan. Protect the prints, capture a careful master, preserve the story in filenames and metadata, make repair copies transparently, and maintain tested backups. That modest discipline turns a collection of images into a family archive that is easy to use now and safer to pass on.
Create a careful repair copy