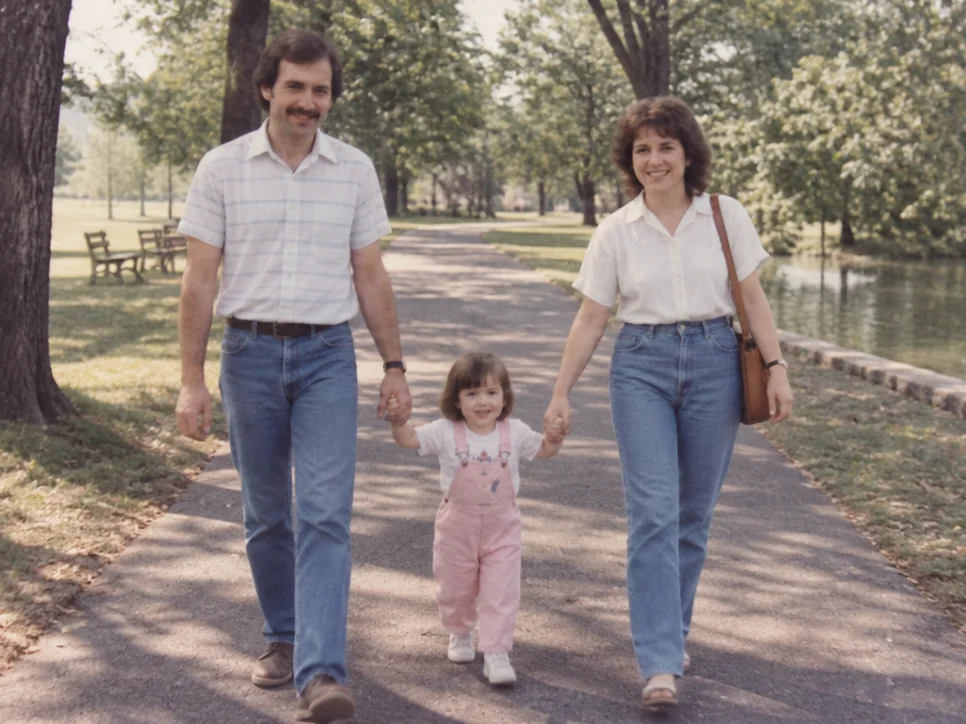
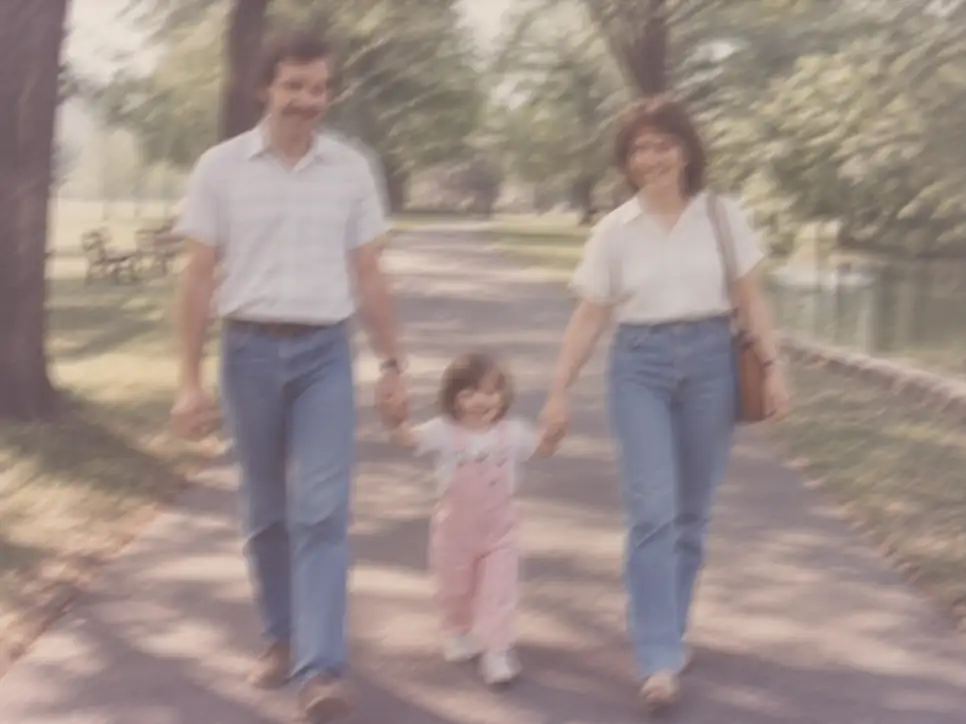
After
Before
↔
 PhotoRepair
Make shaky, soft, or slightly out-of-focus photos clearer without harsh sharpening.
Select multiple images or scan an old photo
These examples highlight motion blur and focus blur recovery so you can judge clarity gains first.
Look at subject edges, readable text, and detail recovery in key areas.
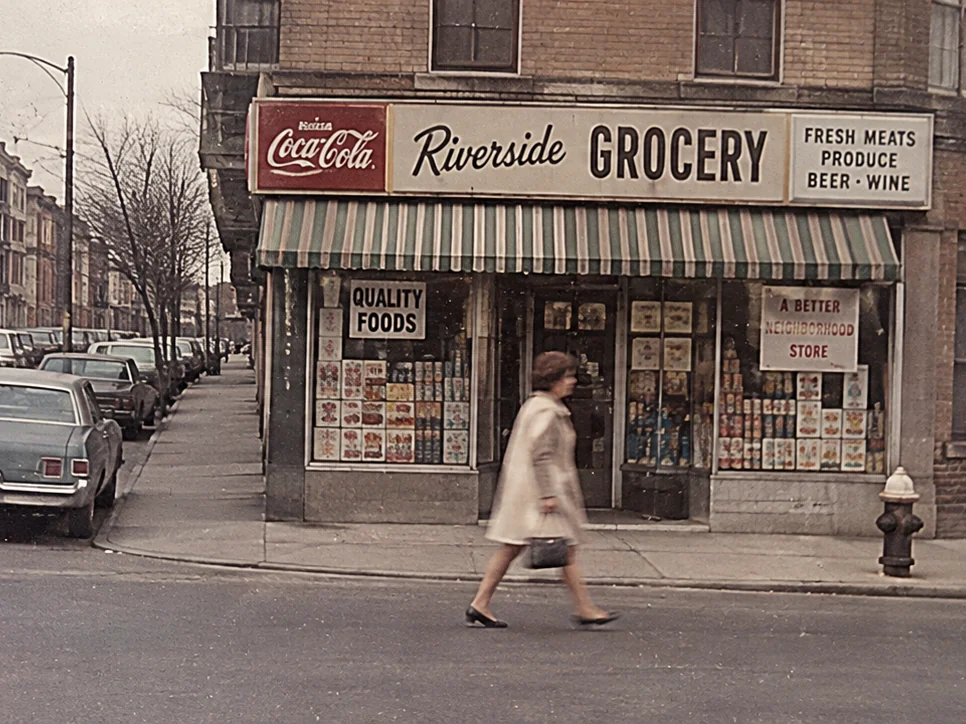
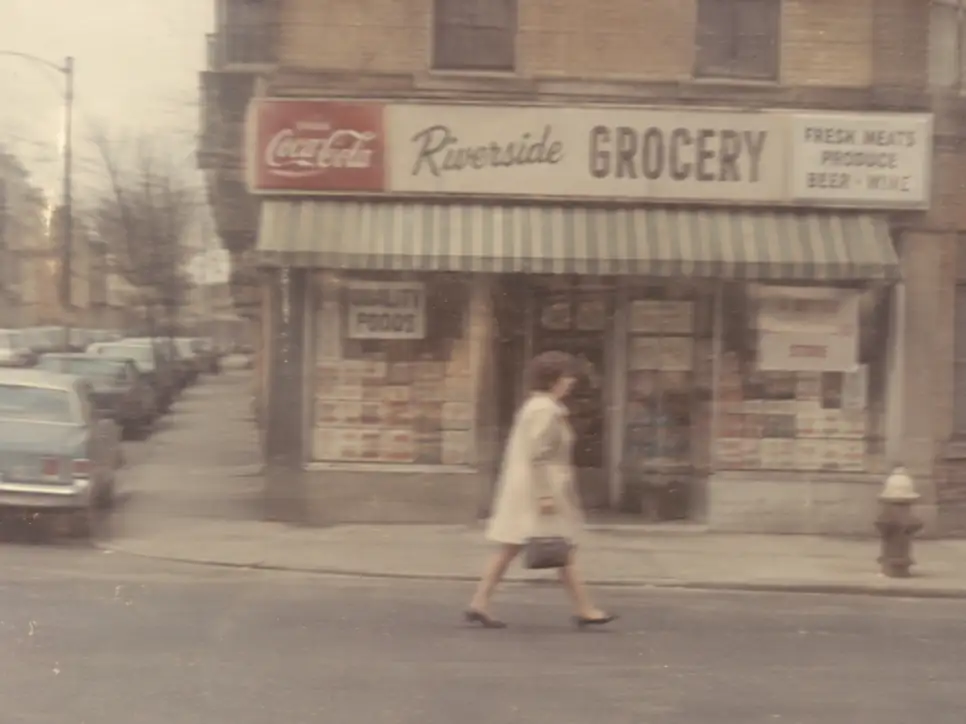
Building edges and text are easier to read, without bright halos around fine lines or an overly harsh look.
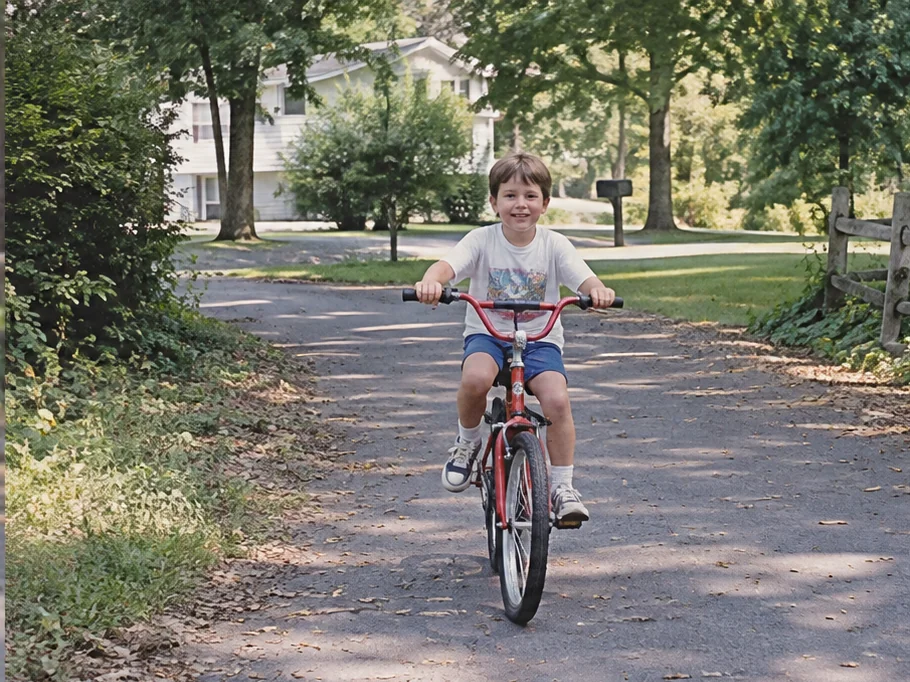
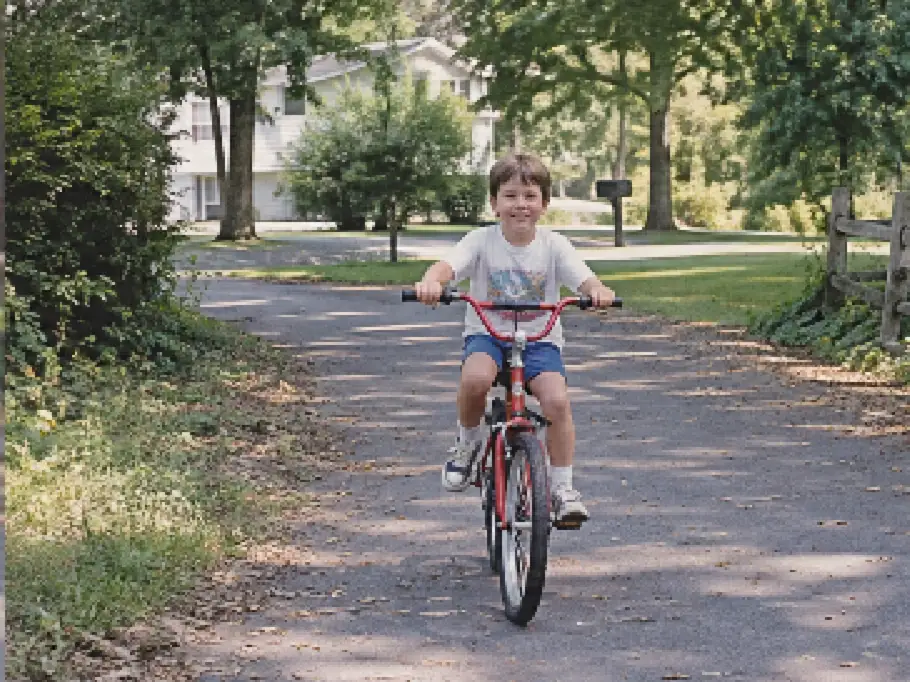
Eyes and facial contours are clearer while skin keeps a natural texture instead of looking plastic.
Different blur causes require different repair strategies. Identify the blur type first, then apply the matching treatment for more accurate results.
Camera or subject movement during exposure causes directional smearing.
Repair strategy
The system first analyzes the motion direction, then applies directional deconvolution to recover edges without introducing over-sharpening artifacts.
Lens focus missed the subject, making key details soft and undefined.
Repair strategy
The system progressively reconstructs blurred edges and contours, improving clarity while avoiding harsh sharpening traces.
The entire image lacks definition — common in old scans, compressed files, or low-quality lenses.
Repair strategy
The system enhances overall clarity by prioritizing high-confidence edge reconstruction while suppressing noise amplification in flat regions.
Unsure which blur type your photo has? Upload it and the system will automatically detect and apply the most suitable repair strategy.
First identify the dominant blur type, then apply the corresponding repair strategy to avoid the over-processing that comes from uniform-strength treatment.
Do edges show one clear direction of trailing?
Motion blur path
Prioritize directional deconvolution, then limit halo with edge constraints.
Are all details soft without directional streaks?
Out-of-focus path
Use contour reconstruction with moderate micro-contrast recovery.
Do you see blocky patches and muddy textures first?
Compression-softness path
Clean artifacts first, then sharpen only high-confidence edges.
This tool is designed around blurry photo fix, helping you quickly assess which photo problems it addresses.
Adjusts to the type of blur in the photo, so the workflow starts with the most visible damage pattern.
Sharpens edges without heavy white halos, avoiding over-processing and artifacts.
Works for portraits, travel shots, and scans, making the photo more suitable for saving, printing, or sharing.
Workflow
On the blurry photo fix page, review examples and the approach before deciding whether to upload a photo.
Use the version closest to the original capture so the system can accurately determine whether the blur is from motion, missed focus, or global softness.
Source photo
Drag image into uploader
Edges requiring sharpening receive targeted enhancement, while areas prone to artifacts are treated conservatively to avoid white halos and over-sharpening.
Repair pass
Before downloading, check faces, text, and edges to confirm clarity has improved without introducing an over-processed appearance.
Preview
The examples below help you determine which photo problems this tool addresses and what results to expect.
Rescue a shaky travel photo
Problem: Buildings and signs look soft because the phone moved during the shot.
Result: Edges come back into focus and the scene feels easier to read.
Tighten up a soft portrait
Problem: The face is slightly out of focus even though the moment is worth keeping.
Result: Eyes, brows, and facial contours look clearer without making skin look harsh.
Improve a blurry scan
Problem: An old print was scanned soft and the subject no longer stands out.
Result: Important details become easier to see and text is more readable.
Pricing
Start free, then pick a credit pack when you need full downloads. Compare what you get across plans.
Try the workflow and see instant before/after preview.
Best for occasional repairs.
100 credits · Up to 10 repairs
Lower cost per repair for heavy usage.
400 credits · Up to 40 repairs
 Stripe
If you experience any payment difficulties, contact support@photorepair.app.
Answers about upload, results, and whether this tool fits your photo.
FAQ guide
Start here for the most common questions about using this tool.
It works best on mild hand shake, slight focus misses, and general softness from scans or compressed files. The more real detail the original still has, the better it usually comes back.
It can help, but only up to a point. If you can still see the subject, edges, or text, the result can look much clearer. If everything is fully smeared, it usually becomes less blurry rather than fully restored.
It tries not to. Instead of pushing the whole image harder, it adds clarity where real edges already exist and stays lighter in areas that would look harsh.
Yes. Portraits are a common use case. The goal is a clearer face without making skin, hair, or expression look fake.
A normal sharpen filter pushes everything at once. This tool is more selective, so the result feels clearer instead of over-edited.
Upload the cleanest version you have. Larger originals and better scans usually give the best result.
Start now
Upload the original first, preview the result, then unlock the HD export after sign-in.
More ways to fix it
If this tool isn't the best match, switch to one that more precisely addresses your photo's specific issue.
Blur repair · Natural sharpness · Online