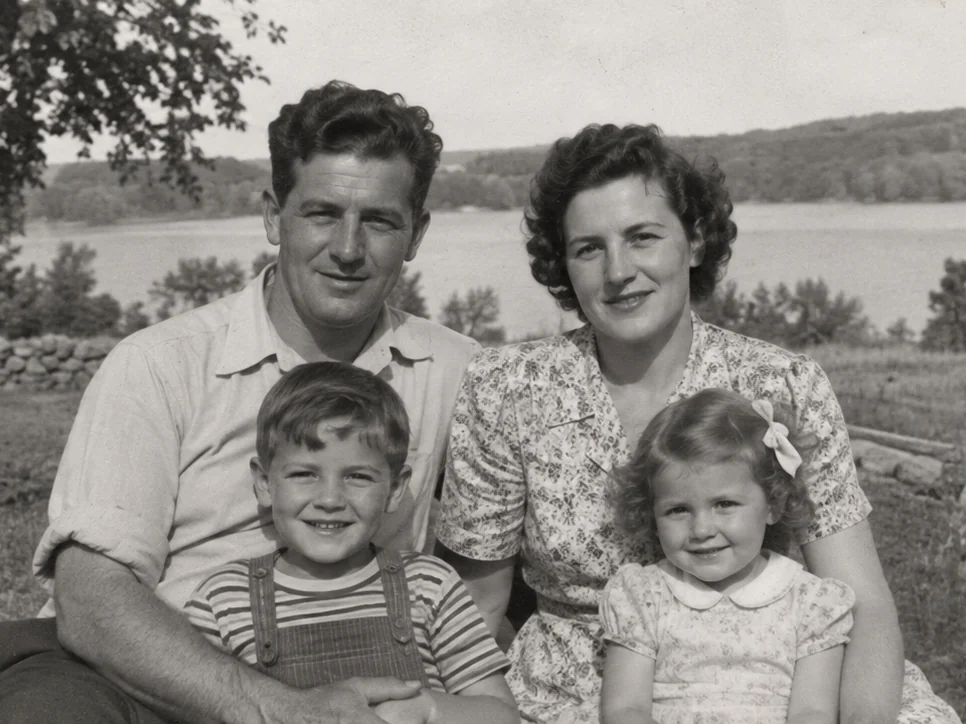
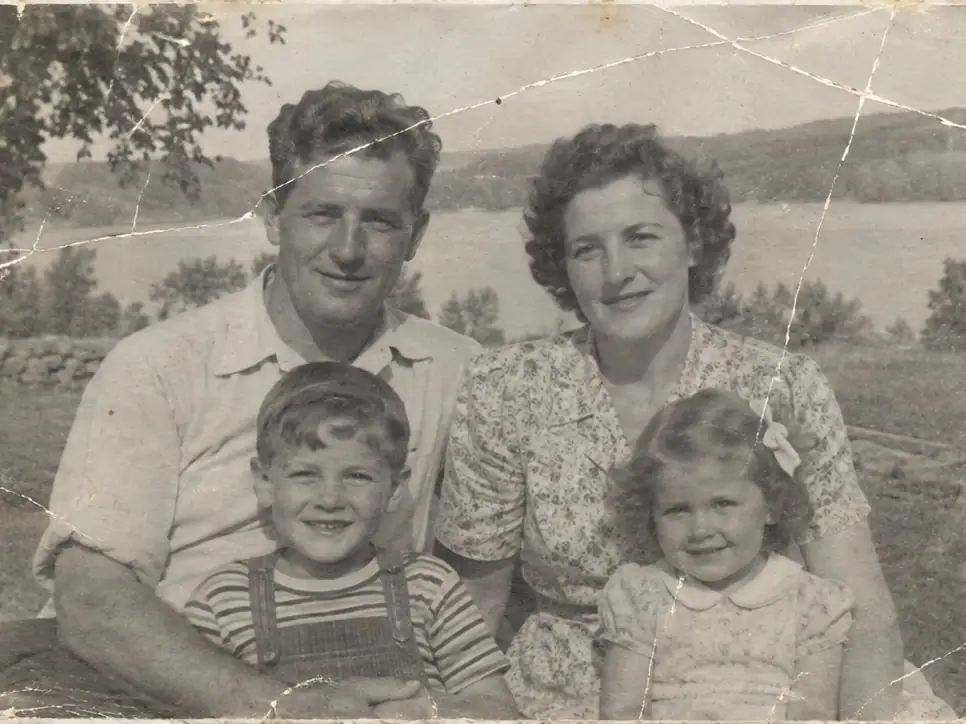
After
Before
↔
 PhotoRepair
This tool repairs scratches on photographs — prints, negatives, and scans. Reduce fine lines and creases while keeping nearby paper grain and image detail visible.
Select multiple images or scan an old photo
Compare two repairs and inspect faces, fabric, and paper grain to judge whether nearby detail remains natural.
These examples focus on fine scratches, crease marks, and deeper damage.
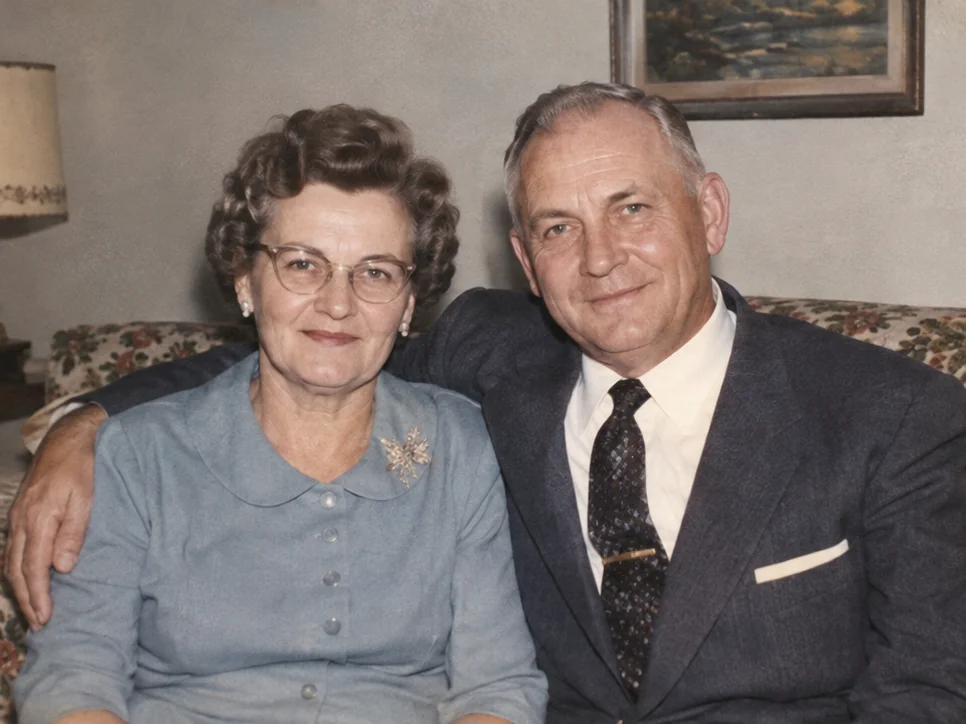
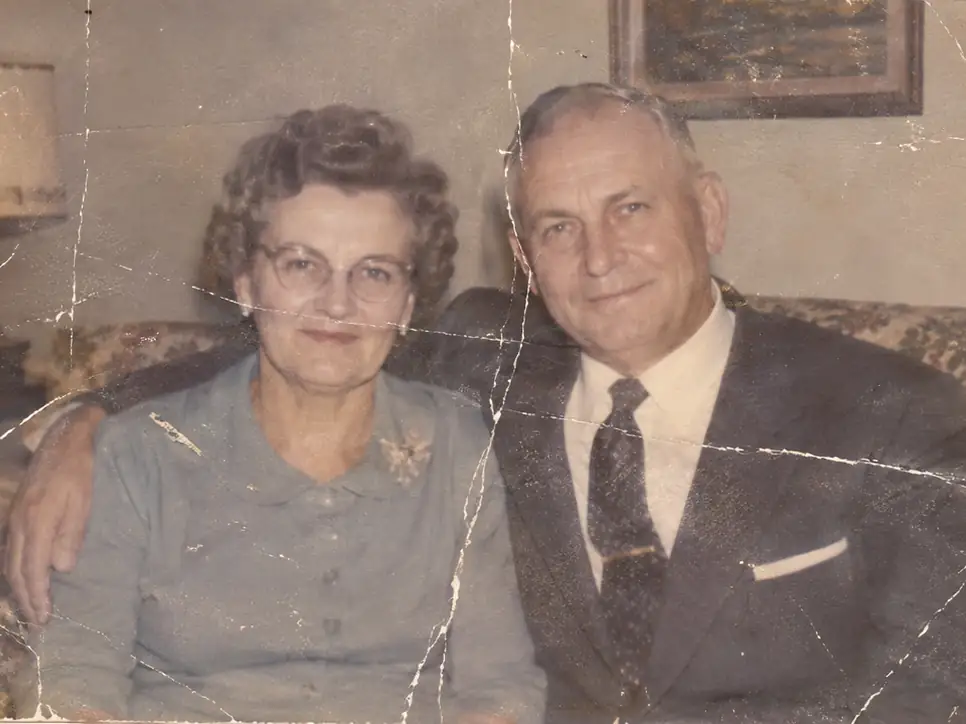
Fine scratches fade from faces and clothing while skin and fabric texture remain visible, keeping repairs unobtrusive.
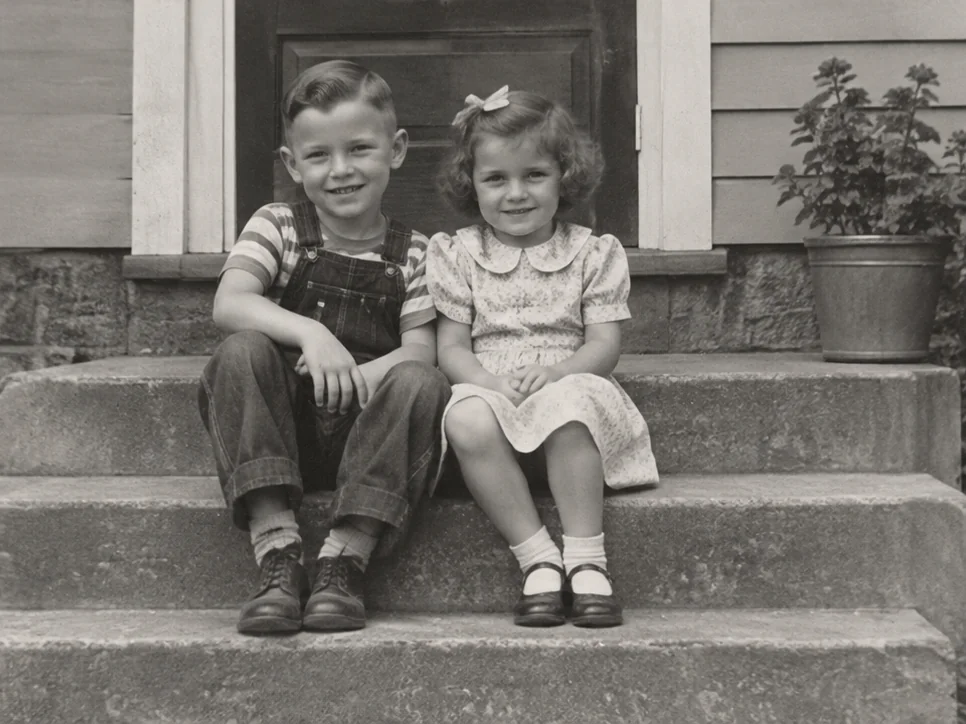
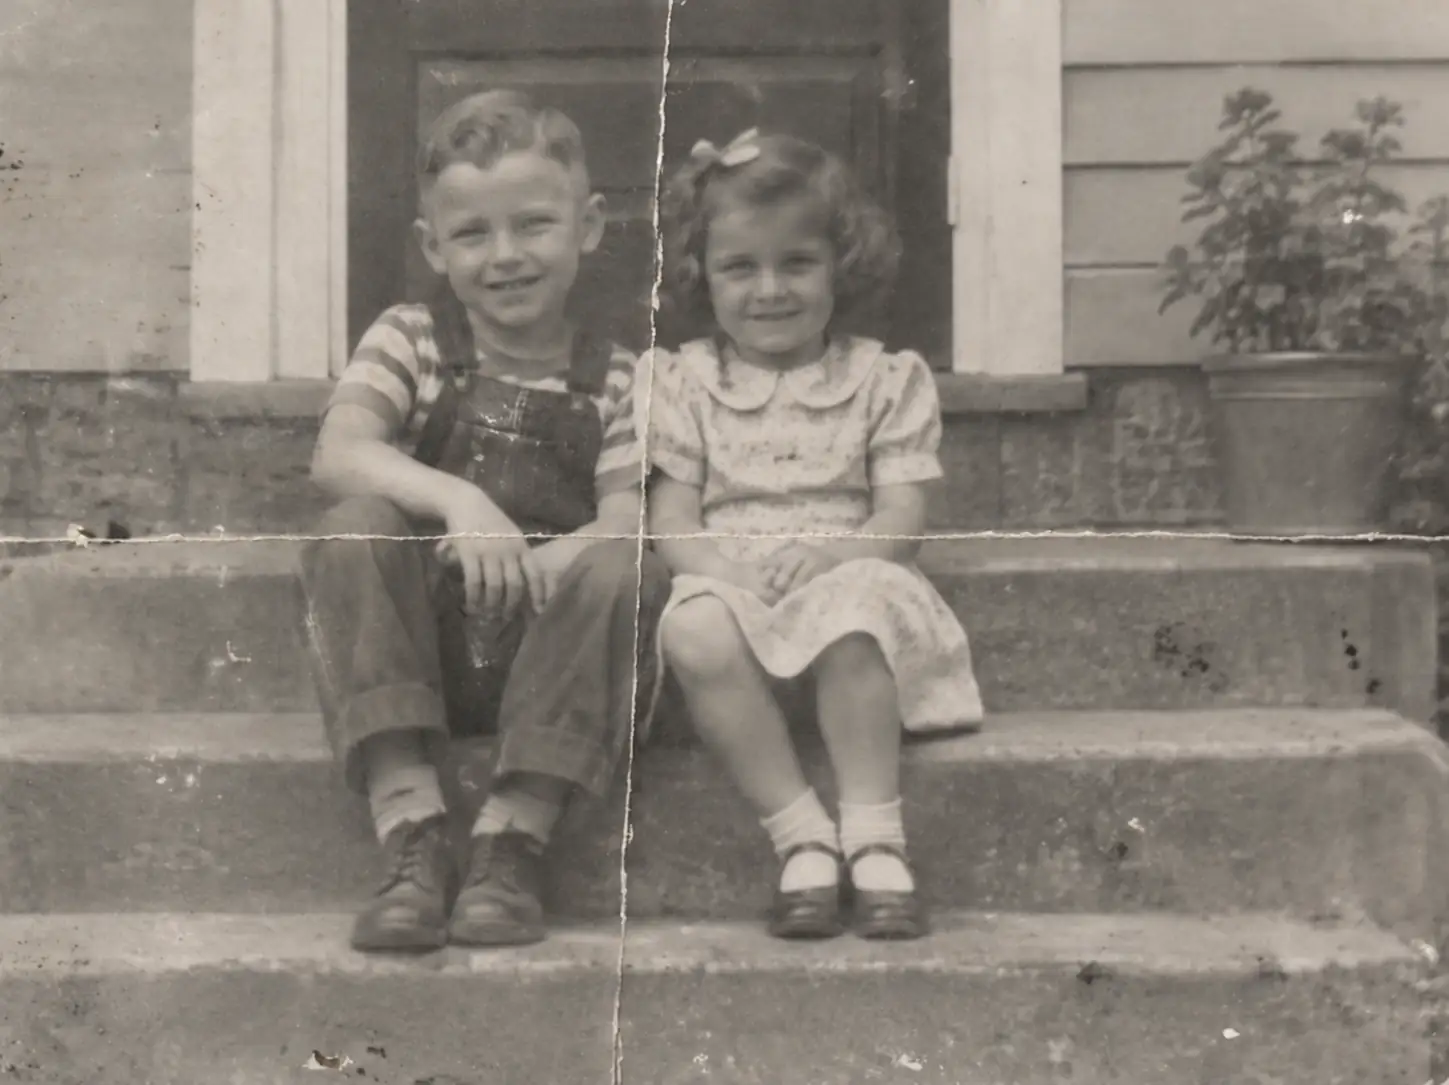
The crease softens, leaving a more continuous transition in texture and light without a sharp break through the photo.
Photo scratches can come from handling, storage, folding, or scanning. Match the visible pattern to its likely cause before choosing a repair.
| Damage type | Likely cause | What to look for | Repair approach |
|---|---|---|---|
| Fine scratches | Light abrasion or dust dragged across the emulsion layer. | Thin, bright or dark lines with intact detail immediately beside them. | Sample narrow bands along both sides of each line; widen the sample only when texture continues cleanly. |
| Deep scratches | Abrasive contact or emulsion loss that reaches the image-bearing layer. | A wider groove, missing color, or a line that interrupts a face or hard edge. | Rebuild broad tone first, then restore edges and local detail in separate passes. |
| Creases | A print folded or pressed in an album or during storage. | A wider band with a highlight and shadow along the fold, sometimes with a sharp break in detail. | Even out the brightness transition first, then reconnect structure across the fold. |
| Scan lines | A scanner sensor, feed, or calibration issue during digitization. | Repeating parallel bands at regular spacing, often crossing unrelated parts of the image. | Measure the repeated spacing and suppress the periodic component while retaining real horizontal edges. |
When a mark covers a large area, compare the repair at full size and keep an untouched copy of the scan.
Scratch damage guideOld photo scratches often come from contact with the print surface or from the way an image was stored and scanned.
The thin image-bearing coating on a print can be scored by grit, rough sleeves, or repeated handling.
A plastic page can stick to a print; pulling it free may lift emulsion along with the sleeve.
Adhesive can harden or bond to the surface, leaving residue or pulling the coating when removed.
Humidity can soften paper and coatings; mold spots and stuck pages can leave irregular surface damage.
Dust, feed rollers, or sensor faults can add evenly spaced streaks that were not on the original print.
01
Choose the clearest scan or original print. The more grain and edge detail it preserves, the better local evidence the repair has for distinguishing a real scratch from the image itself.
02
Select the damage types and set intensity. Fine lines use nearby intact texture; deeper cuts rebuild tone before edges, while folds need their light-dark ridge corrected before structure is reconnected.
03
Compare the preview at full size. Check eyes, hair, fabric weave, and straight edges for smearing or a visible seam before downloading.
Each pattern calls for a different repair order. Compare the preview with the source around faces, printed edges, and fine grain.
For a narrow line, use the nearest intact pixels in slim strips on each side as the first reference. Expand that neighborhood only if grain, color, and edge direction remain consistent; a wide sample can smear detail across skin or fabric.
A deep cut may remove both color and structure, so one fill pass can leave a flat stripe. Rebuild the surrounding tone first, then reconnect contours and texture from a wider context in a second pass; review faces and text closely.
A fold often creates a light ridge and dark trough in addition to a broken edge. Correct that brightness transition first, then reconnect the image structure across the fold so the repair does not leave a pale or dark seam.
Scanner streaks often repeat at a fixed interval. Detect their spacing across several rows before reducing the periodic pattern; this helps separate hardware banding from genuine horizontal details such as a horizon, shelf, or clothing seam.
This page focuses on surface marks. For tears or missing sections, continue with old photo restoration to address broader print damage.
Pricing
Start free, then pick a credit pack when you need full downloads. Compare what you get across plans.
Try the workflow and see instant before/after preview.
Best for occasional repairs.
100 credits · Up to 10 repairs
Lower cost per repair for heavy usage.
400 credits · Up to 40 repairs
 Stripe
If you experience any payment difficulties, contact support@photorepair.app.
Answers about upload, results, and whether this tool fits your photo.
Yes. Fine marks can often be blended from nearby image detail, while a deep cut may have removed texture or crossed an important edge. The repair adjusts to the selected damage type, but the result depends on how much usable detail remains around the damaged area.
It should not look soft when intensity matches the damage. The repair focuses on marked areas and uses nearby hair, fabric weave, or paper grain as references. Compare the preview at full size; if edges lose definition, lower intensity and try again before downloading.
Yes. Scans can contain both damage from the original print and repeating streaks introduced by the scanner. Upload the cleanest scan available, select the relevant damage types, and compare the result with the source so genuine image lines are not mistaken for artifacts.
No. When the mark covers a large area or removes facial features, there may not be enough neighboring evidence for a faithful reconstruction. The repair can reduce its contrast and reconnect surrounding structure, but check the preview and keep the untouched original as your archival master.
Use the highest-resolution scan or photograph you have, with minimal compression and no edits already painted over the damage. A clean source preserves more edge and grain information for repair. Keep a separate untouched copy, then review the repaired image at full size before downloading it.
Need more details? Visit the help section from the footer.
Start now
Upload the original first, preview the result, then unlock the HD export after sign-in.
If this tool hasn't fully addressed the issue, explore more targeted tools for the next step in your repair workflow.
What to expect
Scratch repair · Natural texture · Online